


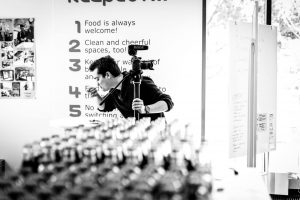
Timing is everything. Look around, don’t spend too much time on camera settings. Try to set it up at home, before hand. If you are close with the organizers, try to figure out the itinerary of the event before starting the shoot. This will help you to organize your time slots and you know how much time you have for each motive.
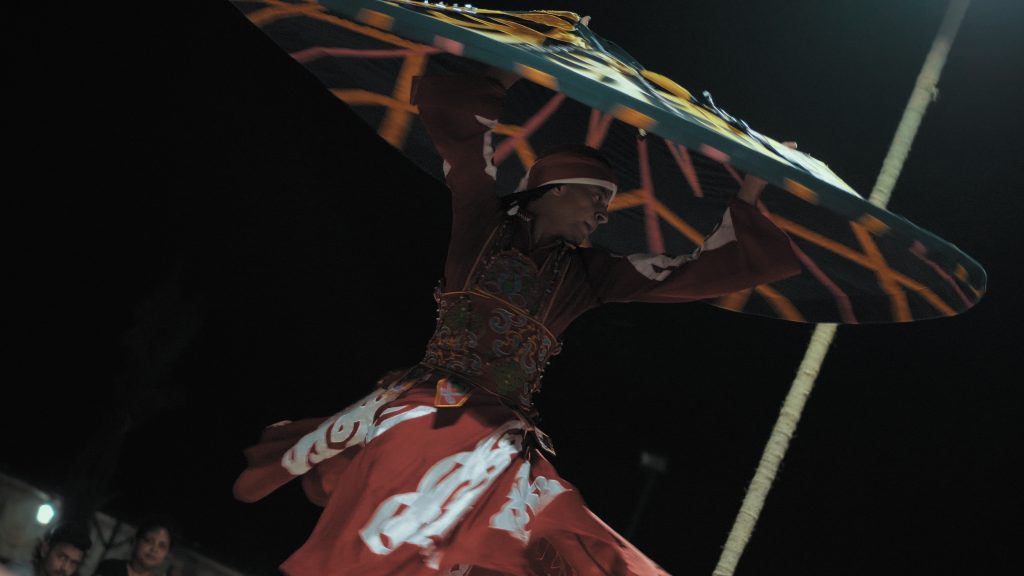
You would want to make your video interesting to watch right? So refrain from using boring angles and try going down on your knees, go behind tight spaces where eyes normally would not go. Try a good mix between wide and close up shots. This gives you more diversity in your shots without changing the content too much.
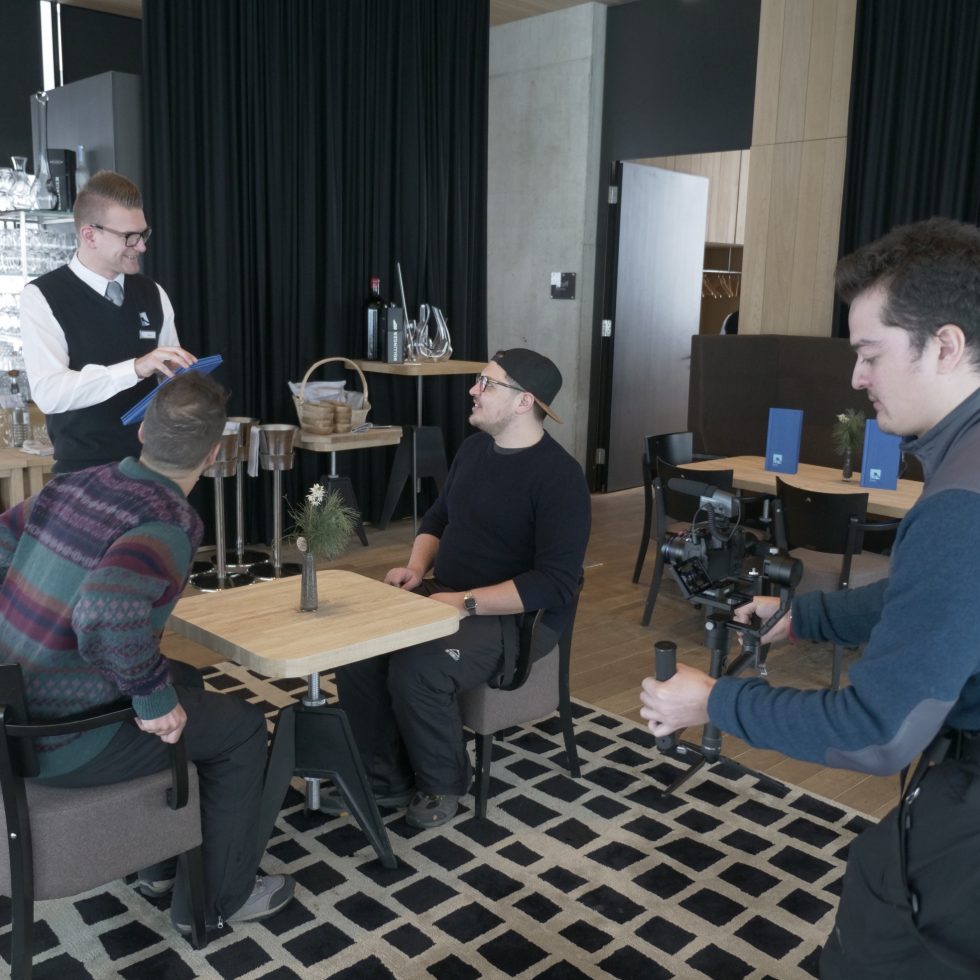
Talk to the organizer, the people you are filming, or even the sound technician and fellow photographers and security. This is your way of letting people know what you’re doing and then they will respect you and sometimes try to help you with the shots you need.
Events are quite tiring because you have to film non-stop to not miss a moment. Pack light to make sure you will not sweat to death and stay as flexible and mobile as possible. Try to reduce the amount of times changing lenses and choose a versatile all-rounder like a 24-70mm (12-35mm for MFT) or something like that.
Don’t ask for permission. Ask for forgiveness. Just film. Get your shot. Don’t ask. If the people don’t want to be filmed, they will tell you. Usually it’s the organizers job to make sure you can work properly. They would hang a sign that says that the event is being filmed. If you start asking people, you will lose precious time.
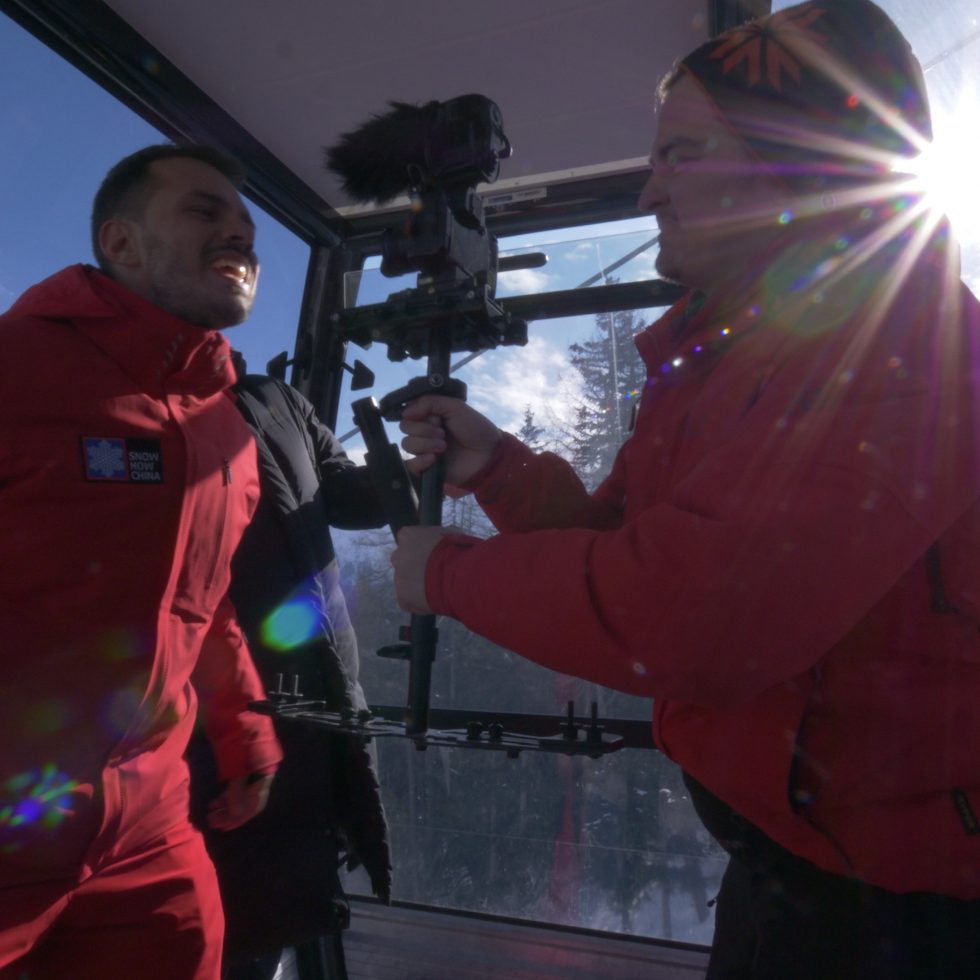
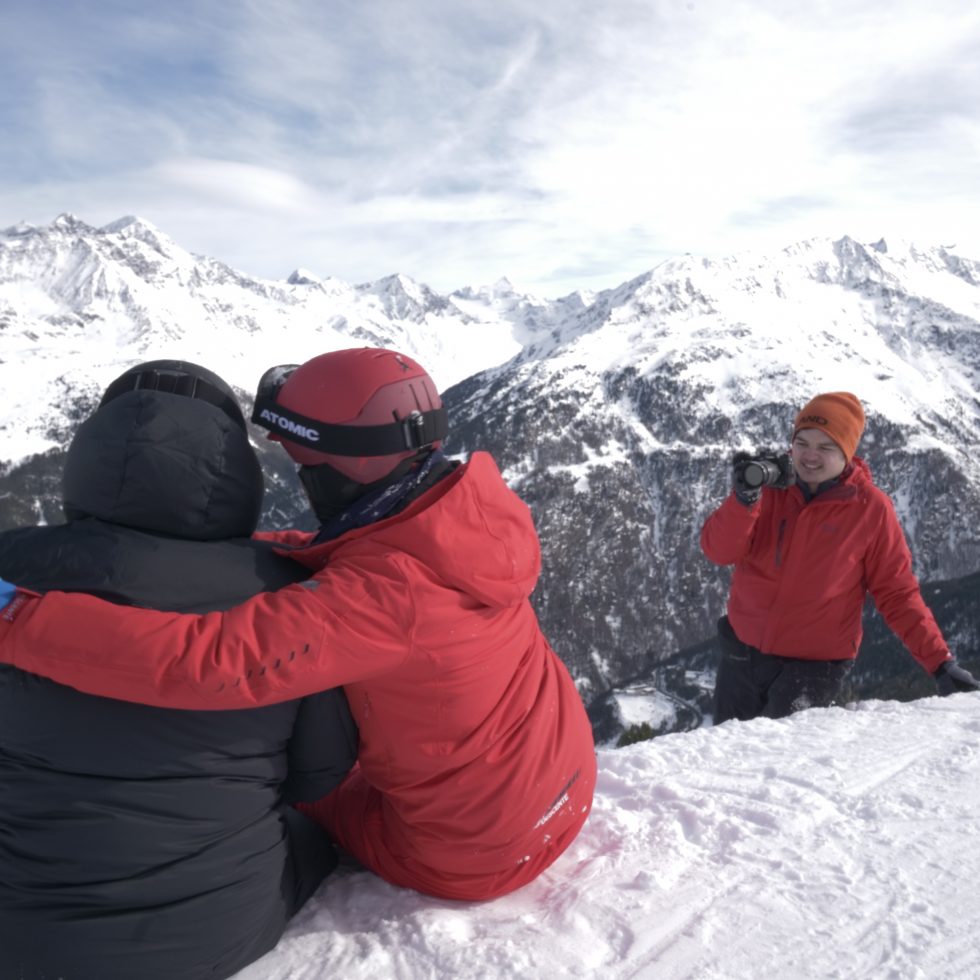
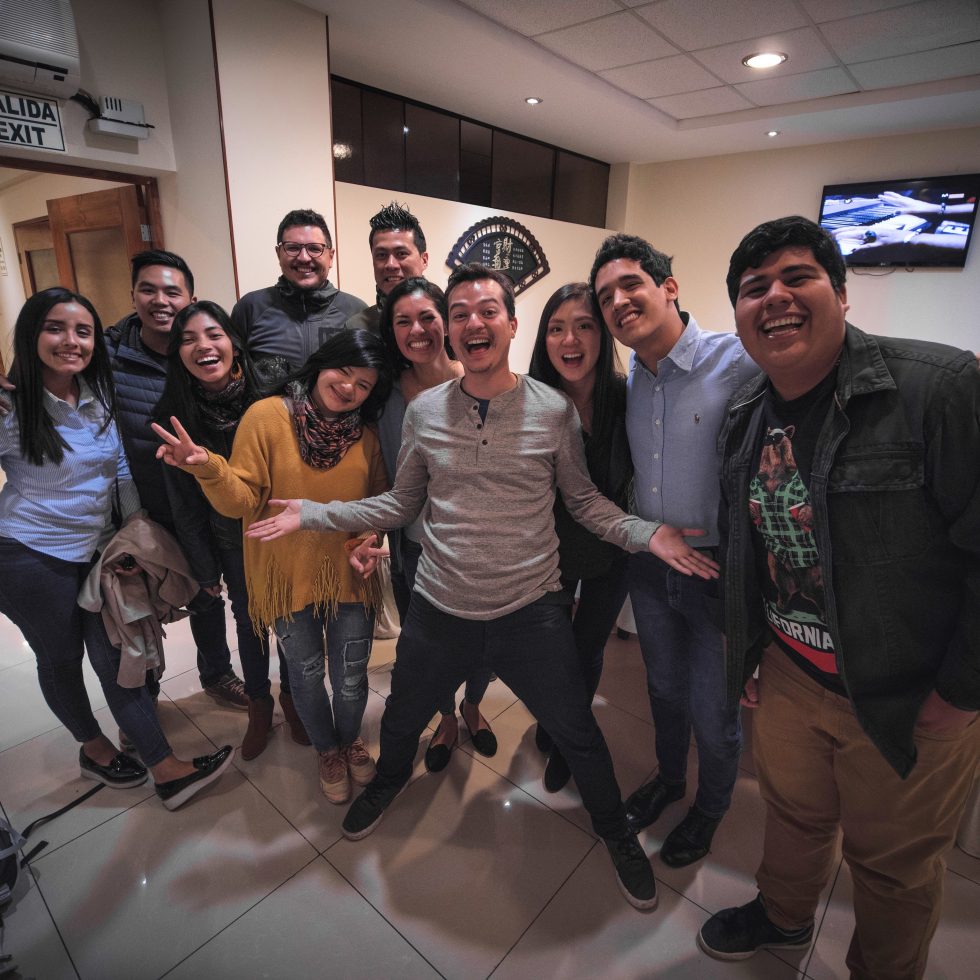
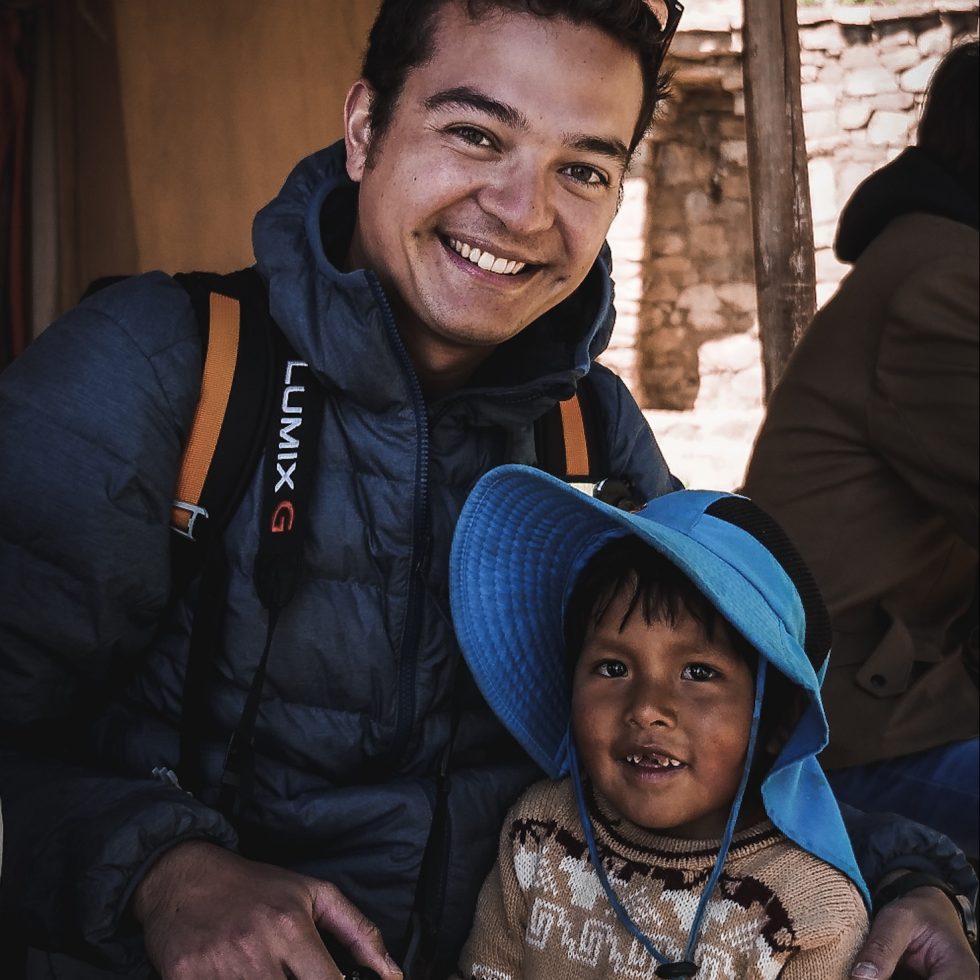
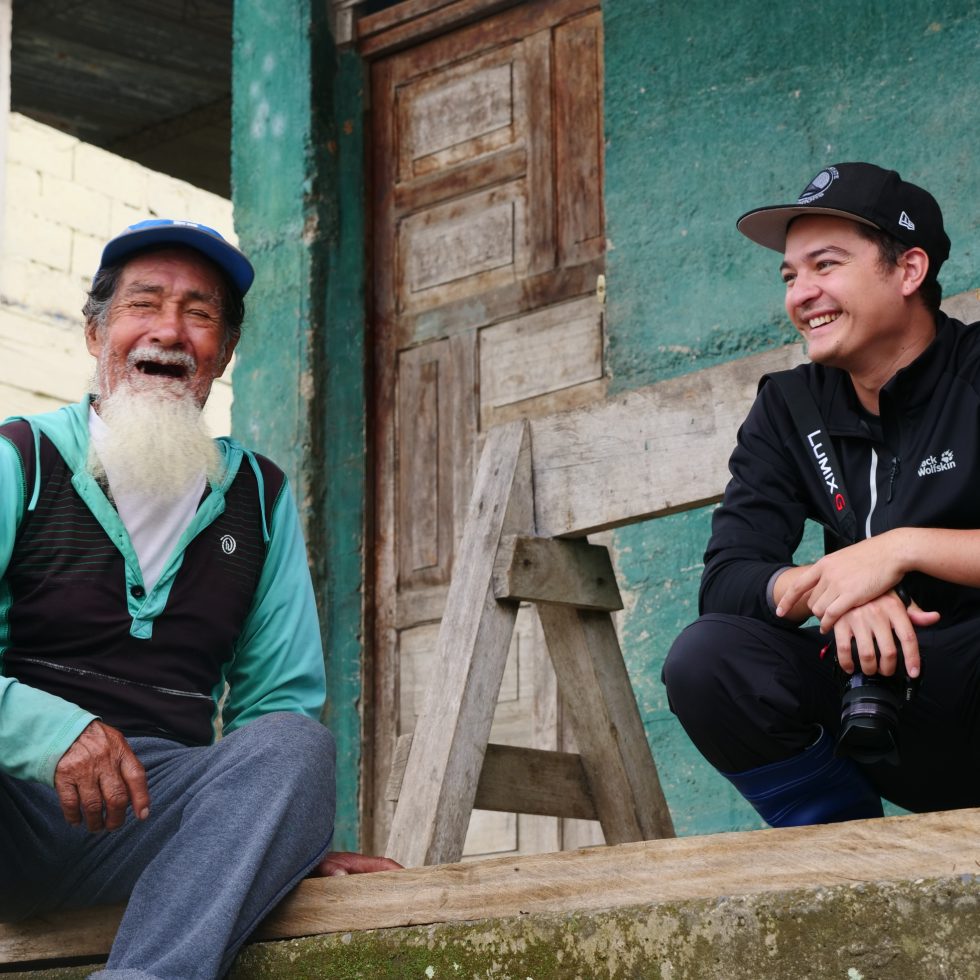
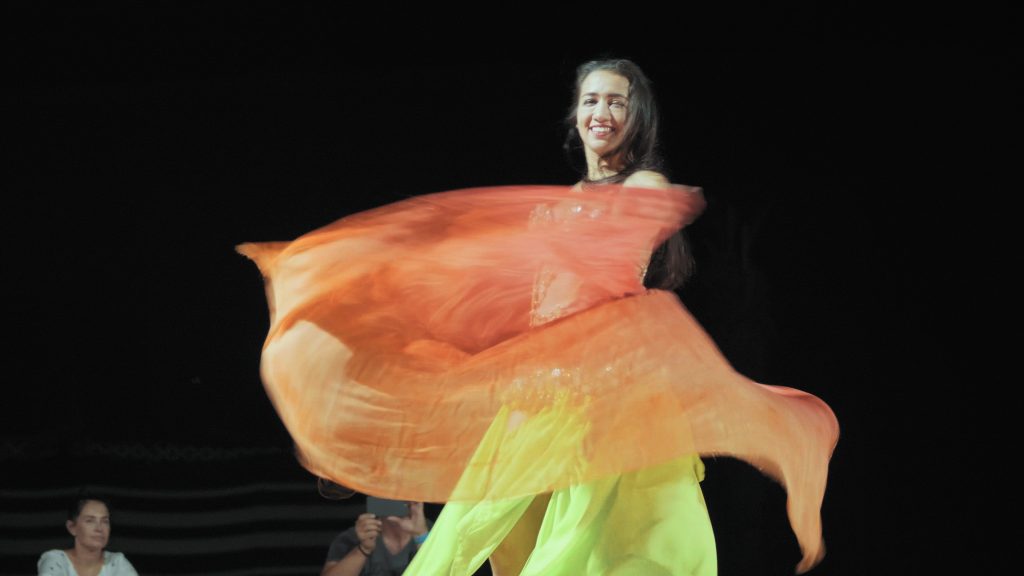
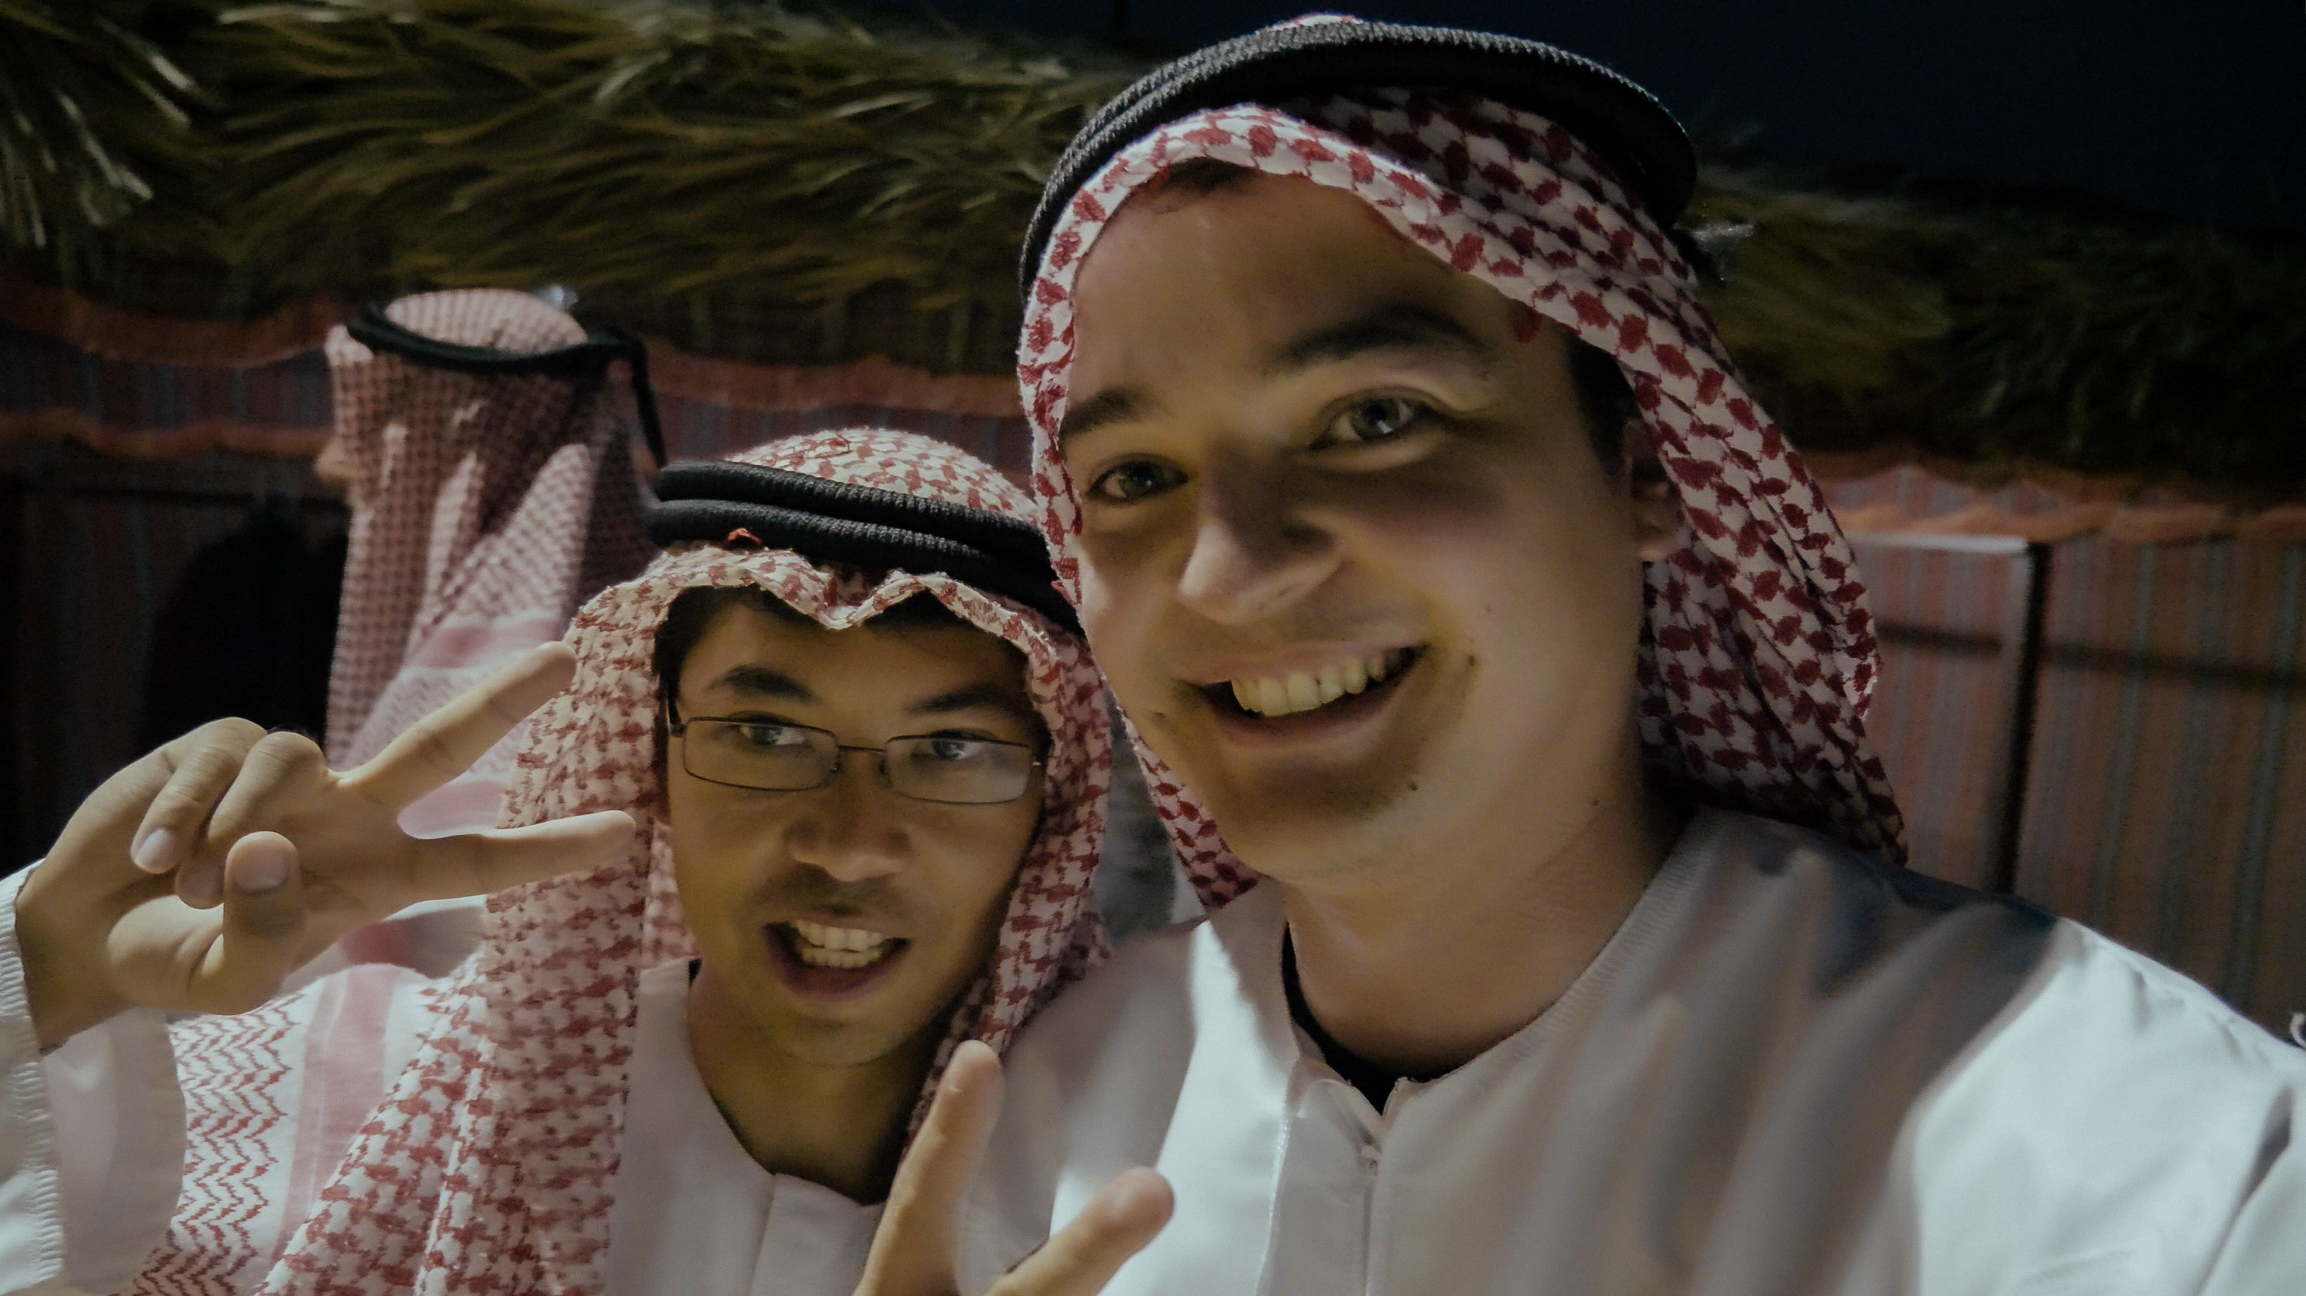
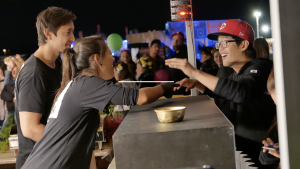
Your video should transmit emotions. That means filming happy, laughing faces is a very VERY good idea. The people watching your video connect with the people in your video. Try to capture funny moments, emotional interactions, hugs, kisses, laughs, everything that is positive.
My style of an event video is a fast edit. This keeps the tension and new images tend to be less boring. try to edit to the beat but keep up the diversity. Try to not only use hard cuts, but also nice swipe transitions or for the pros, masking transitions. Don’t overdo it though. Sound is as important so make sure you add some SFX and edit your sound as well.
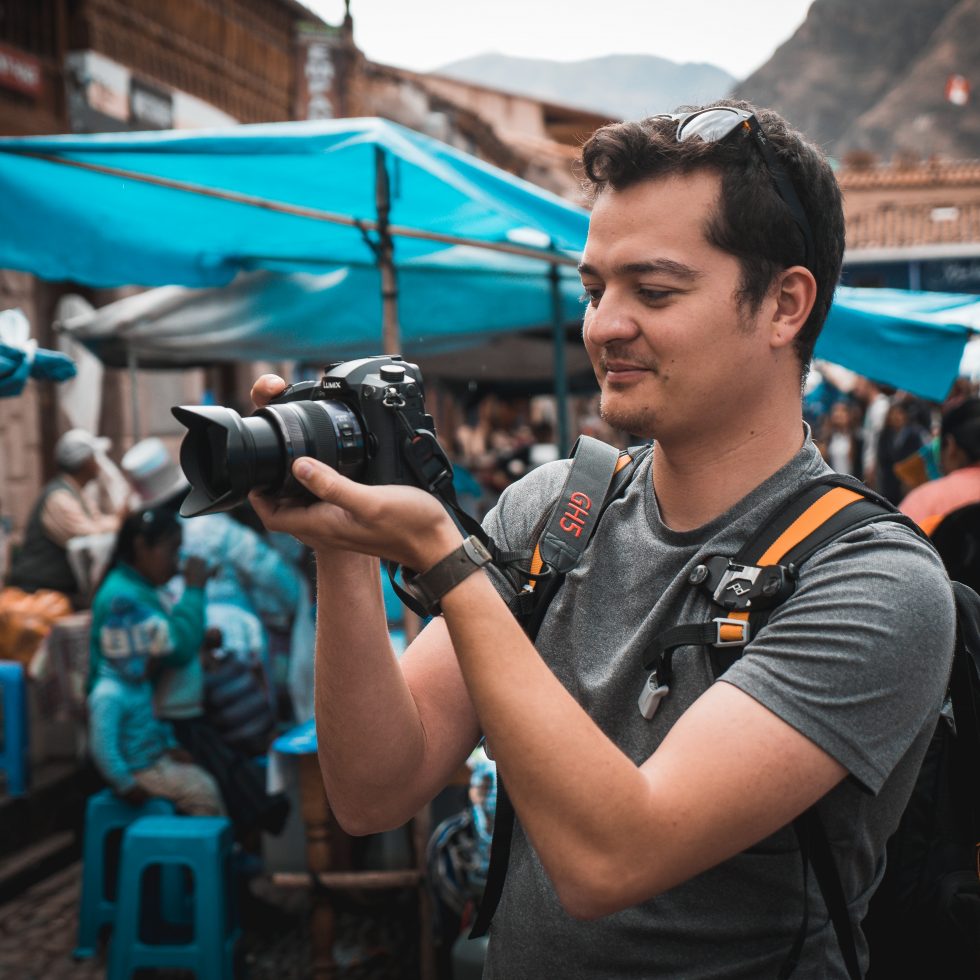
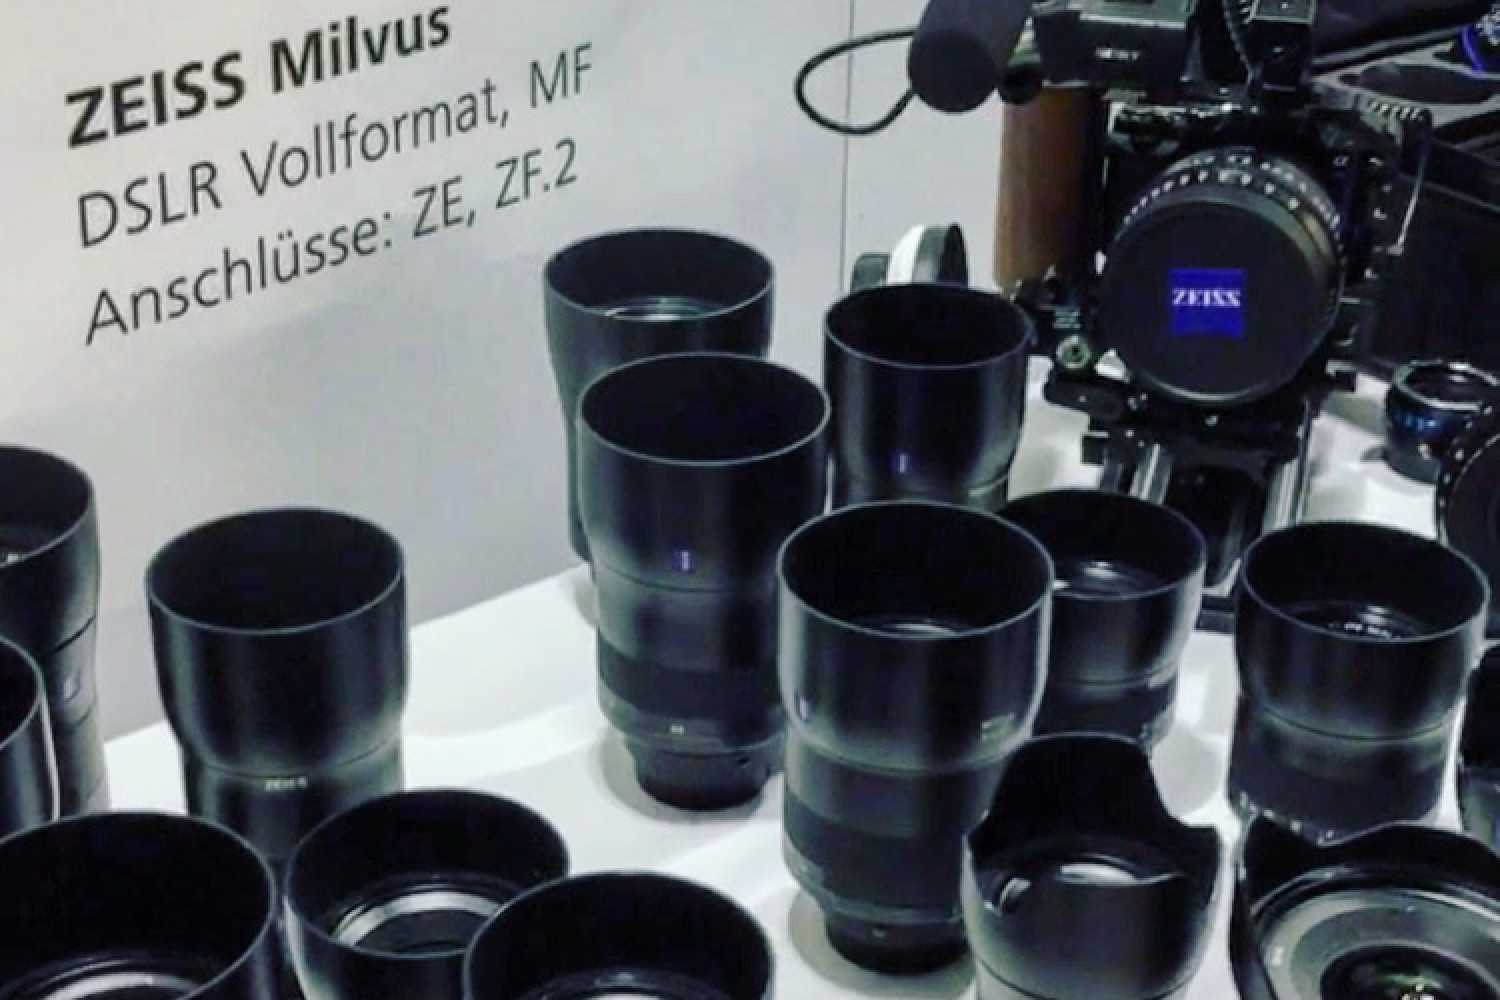
With the help of the micro four thirds system, lenses are super light and offer exactly the same look as bigger and heavier lenses with the expense of working with a smaller sensor camera. The producers know the downsides of smaller sensors and therefore produced lenses that are pretty fast. For example the Voigtlaender Nokton series with f 0.95. Many people tend to use a speedbooster, but then they start having issues with autofocus. I am staying with native MFT lenses and never had any problems with auto focus or whatsoever. In low light situations, the GH5 does a great job at 4000 ISO in combination with the Voigtlaenders. It’s the shadowy parts of an image that gets grainy at high ISO values. But if the aperture is really wide open for example around f0.95, the high ISO doesnt affect the shadows that negatively. It produces a very nice film grainy look.
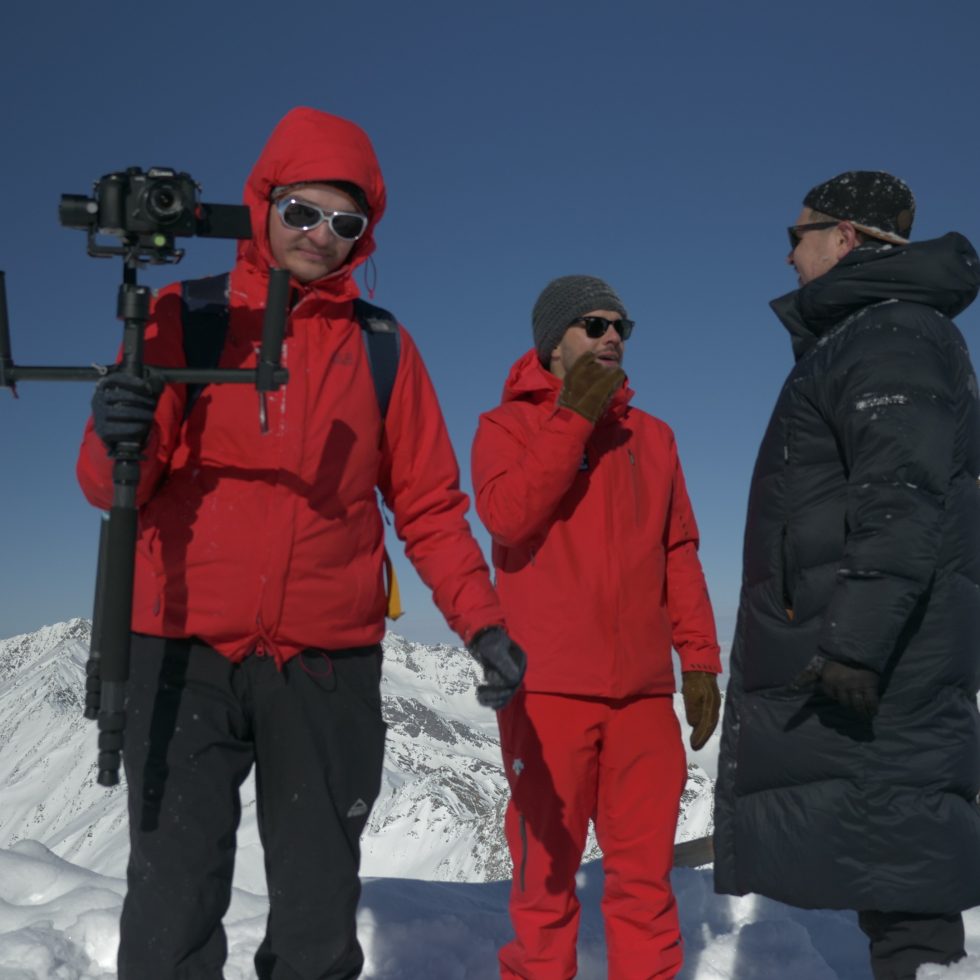
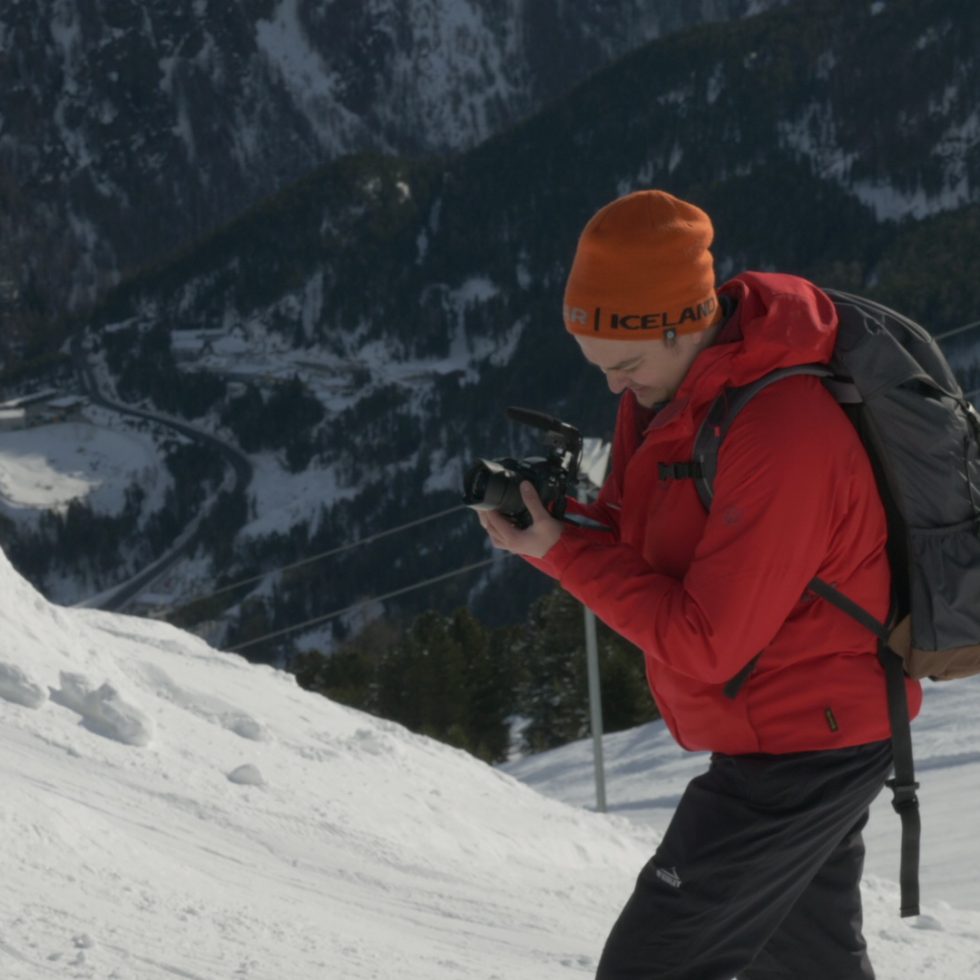
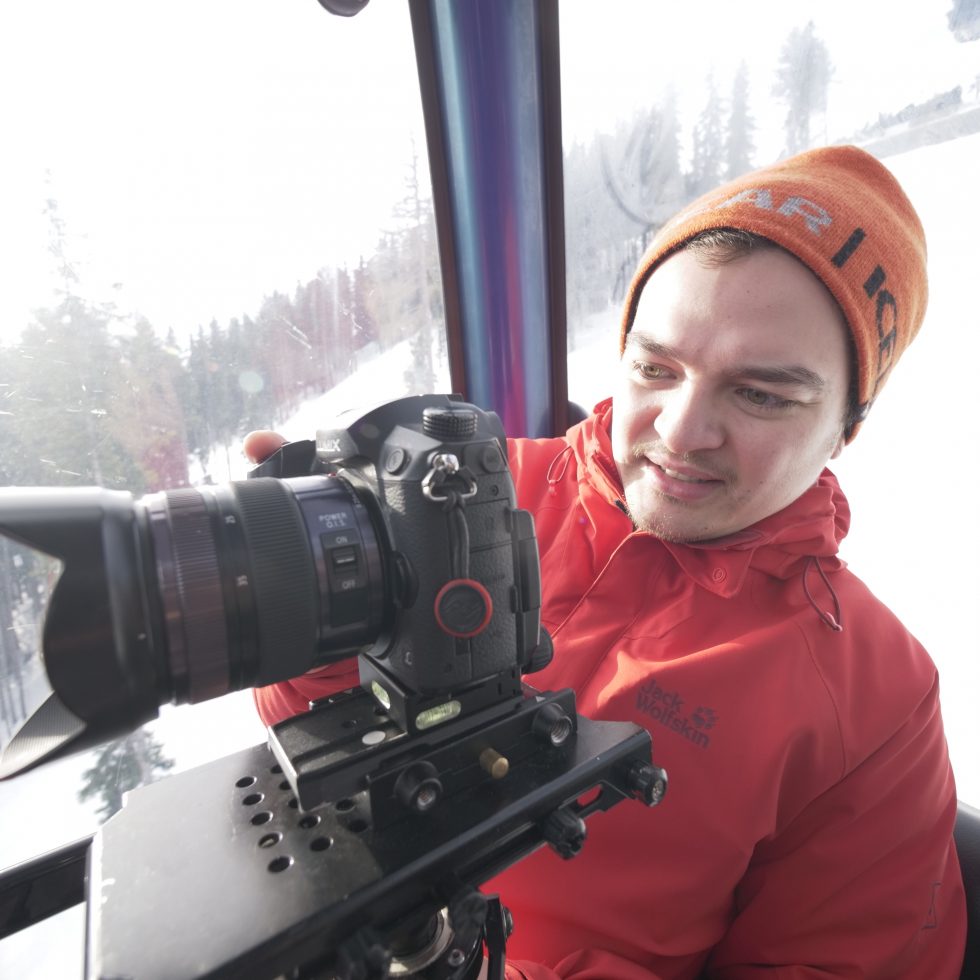
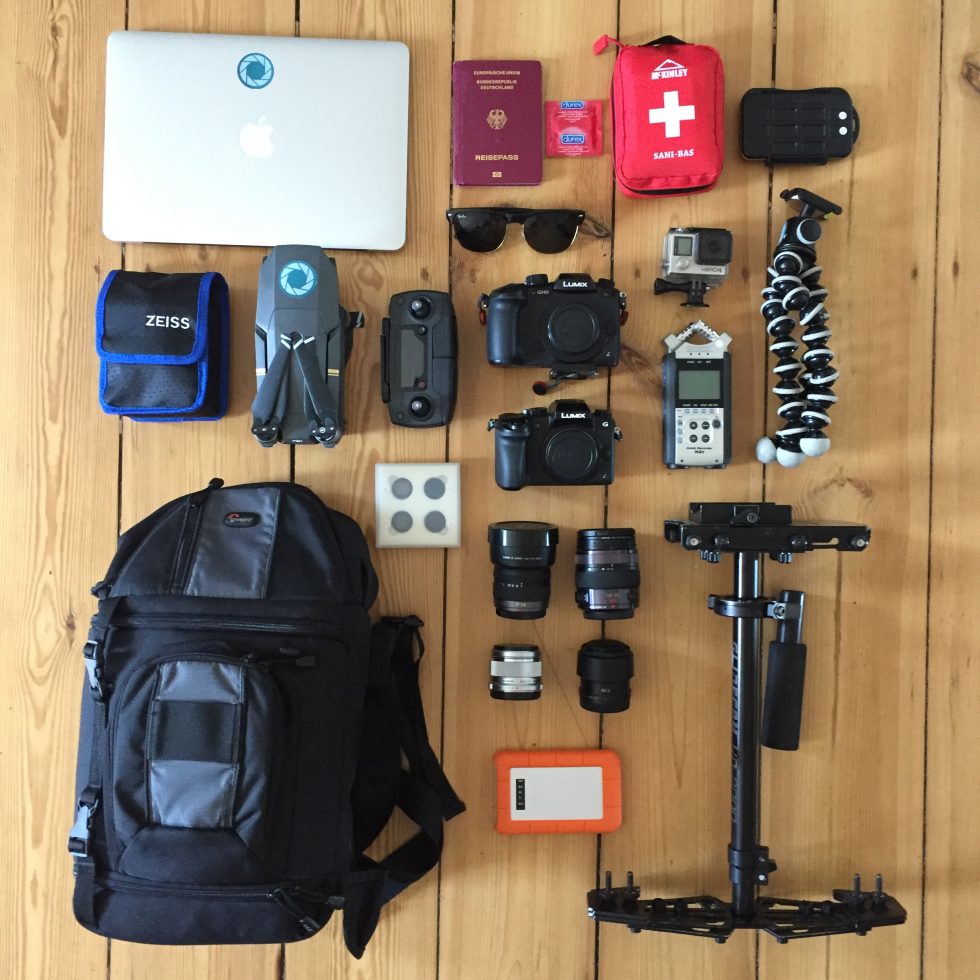
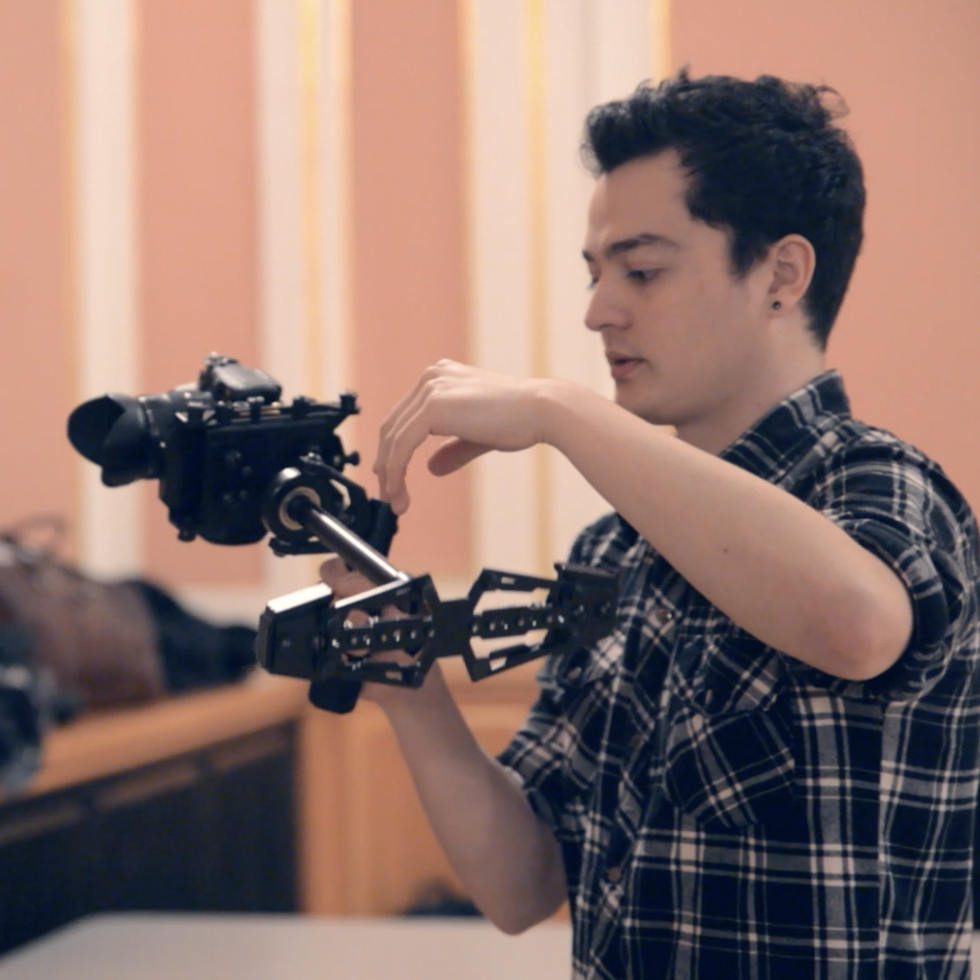
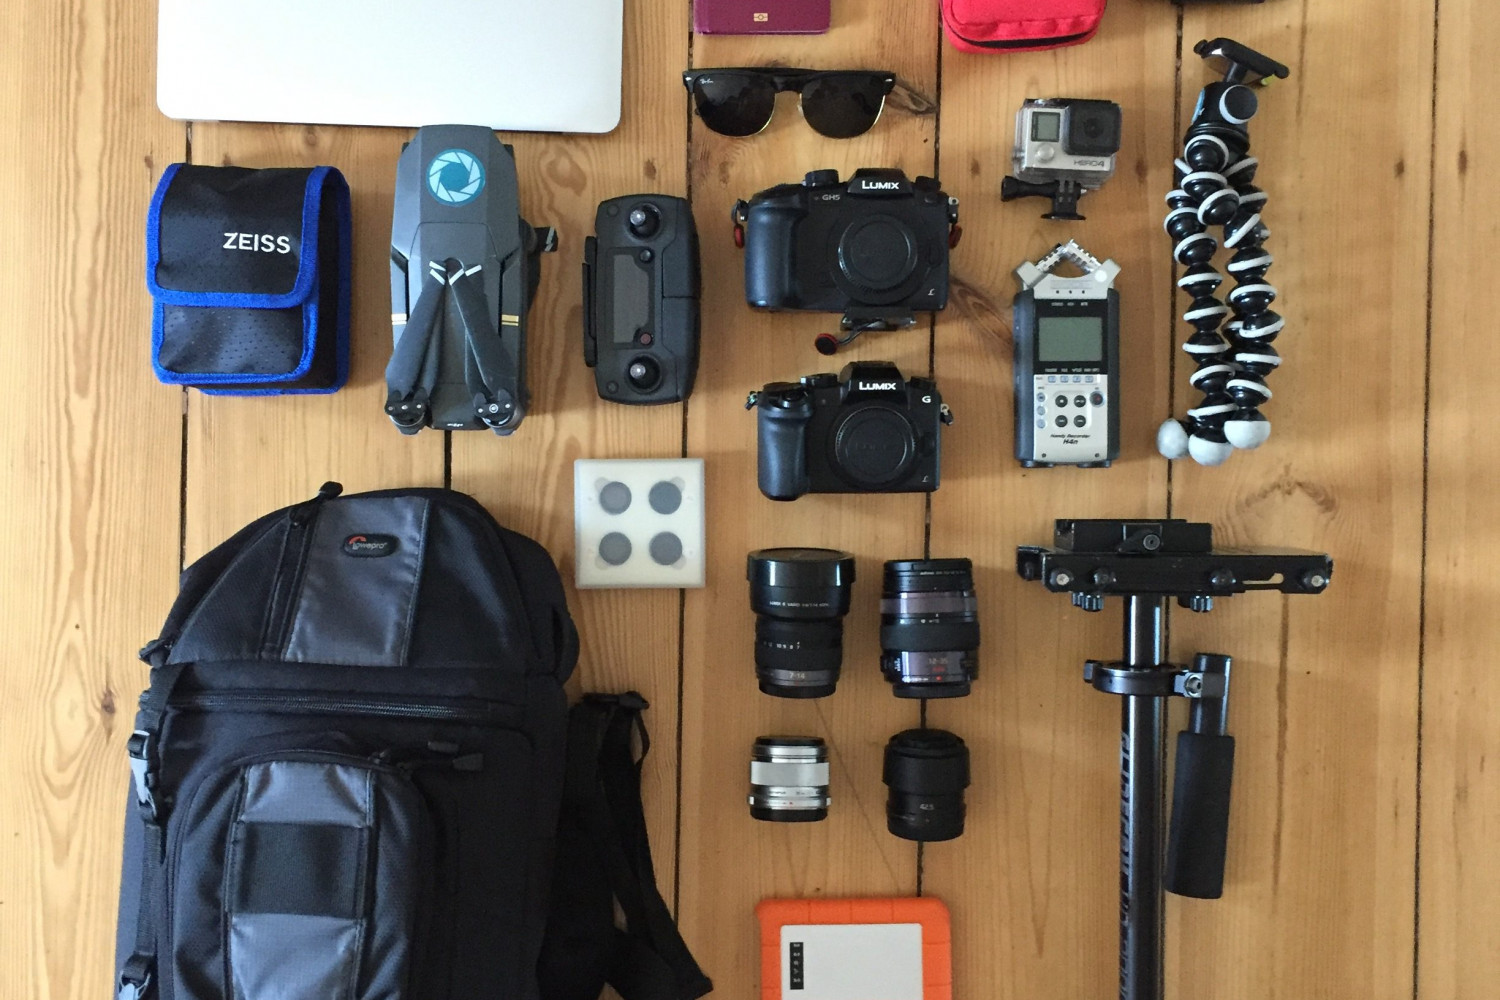
Throughout the years of filming, I have come to the conclusion that the content of your shots is limited to the right timing, good imagery composing of well lit exposure, good focus and good composition and of course the subject shown that tells us the story. Being able to capture the right moment means to be mobile and flexible and being able to use your camera as quick as possible. Aside from getting to know your camera really well, I found that lightweight gear helped me a lot in capturing the right moments. Gear is getting smaller and better and it’s smart to go with the flow.
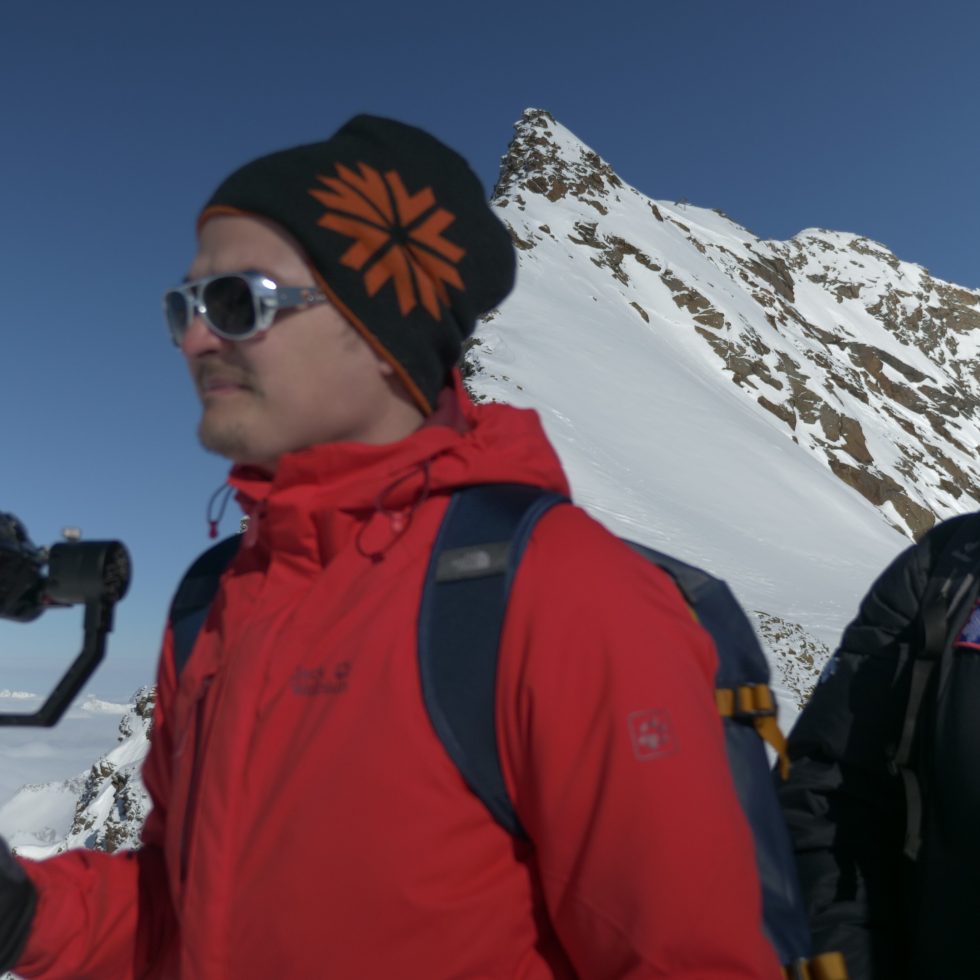
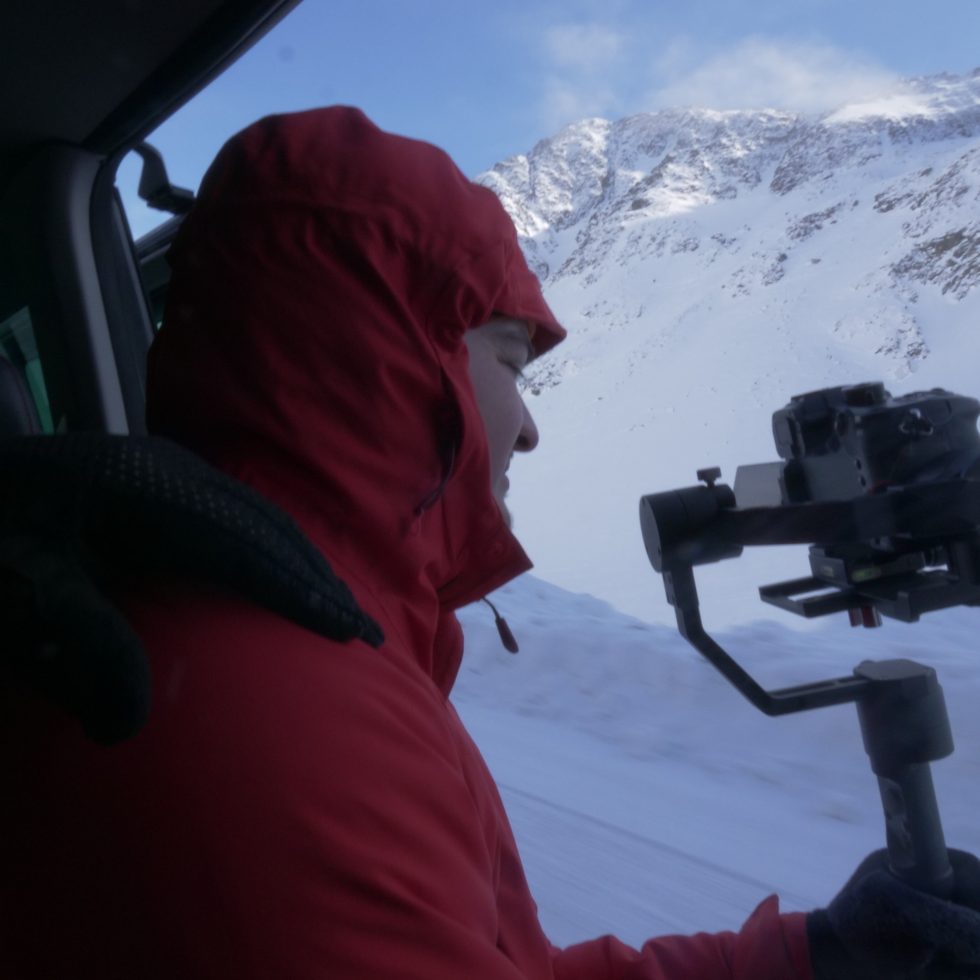
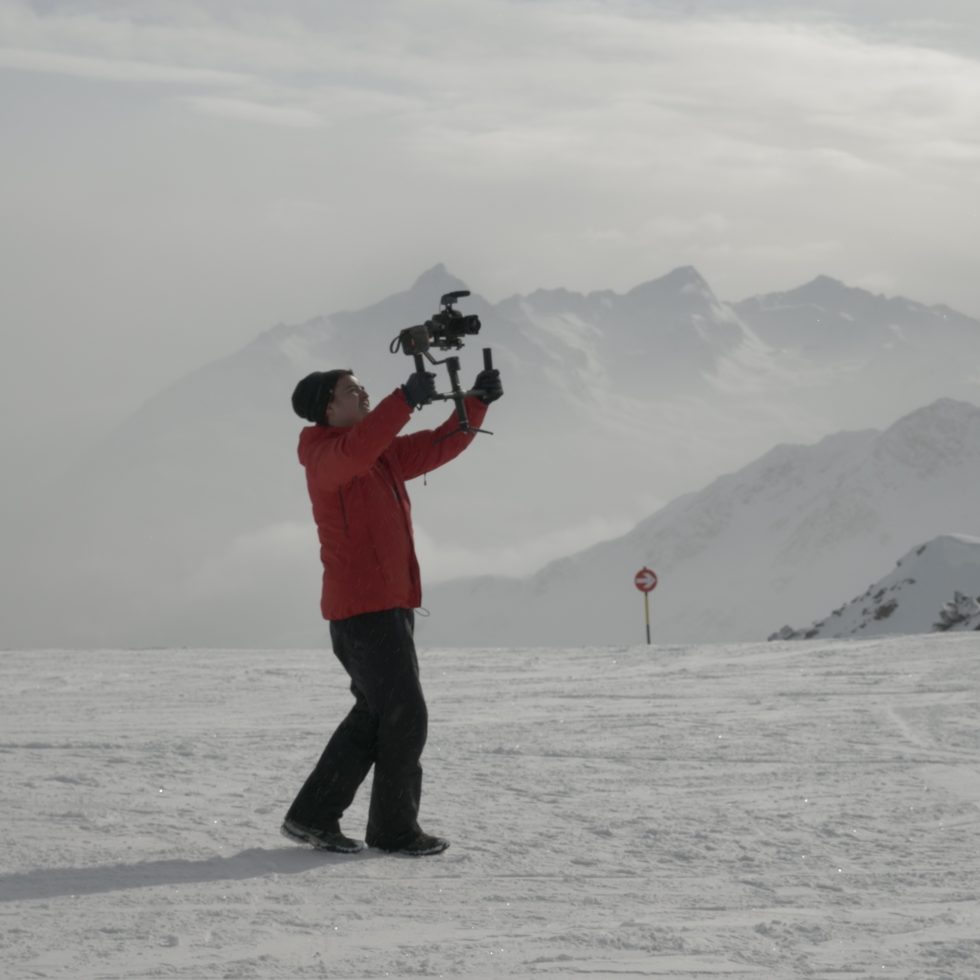
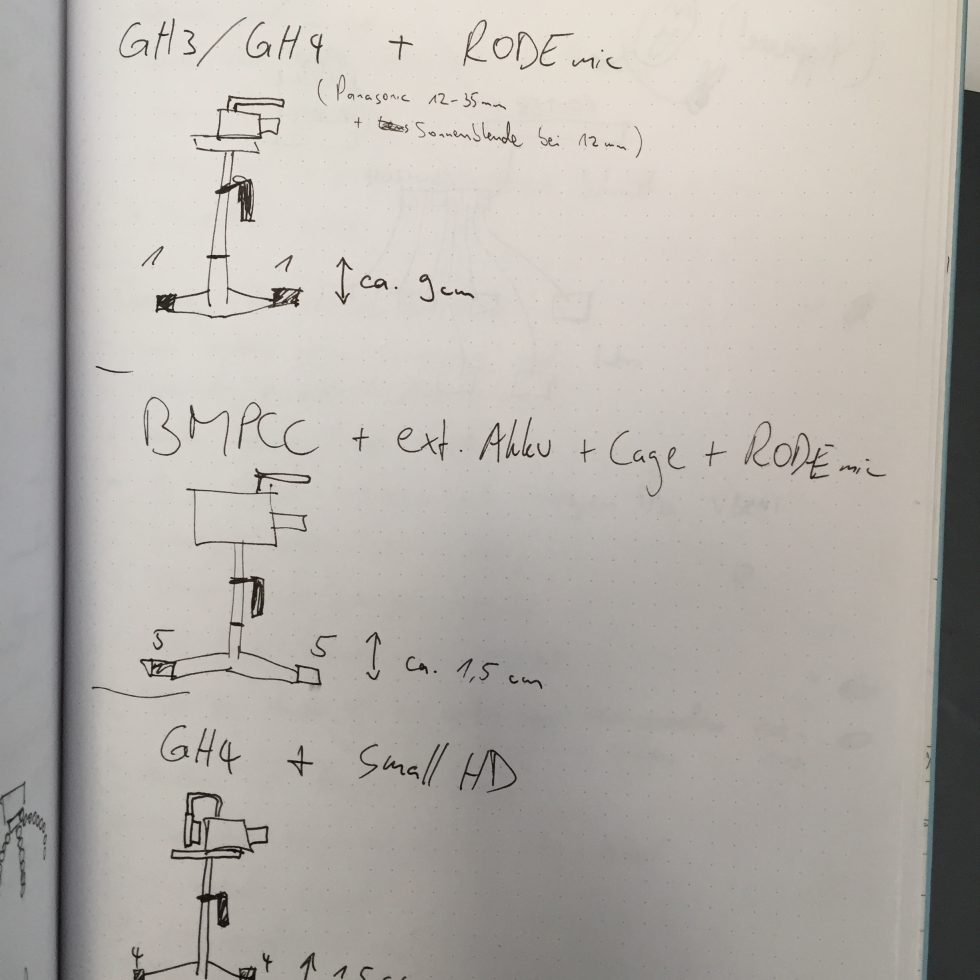
When working lightweight, you have to take care of stabilisation even more. Light cameras tend to shake more and if you go hand held, a bigger, heavier camera will likely reduce jitter. I found the perfect solution for myself by using the Glidecam and Gorillapod. Going hand held on the GH5 is a dream because it has dual IS. That means that the lens AND the body work together to give you the possibility to make smooth cinematic movement when going hand held. Here is an example video of me filming mostly hand held: ICELAND
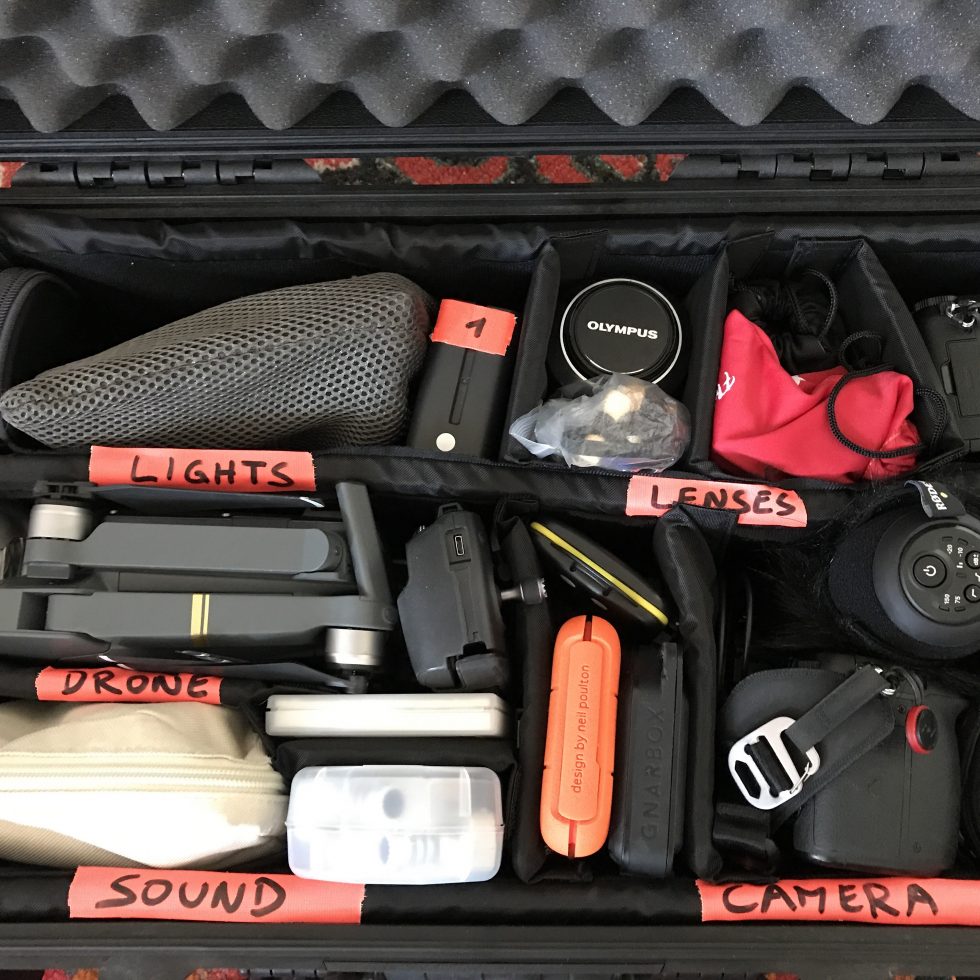
When traveling, do pack only the essentials. We all tend to overpack and then at the end we travel with lots of “light weight traveling equipment”. Think about what you REALLY need. Leave the extra batteries at home or the heavy laptop. To backup footage on the road, you can use this solution: Gnarbox
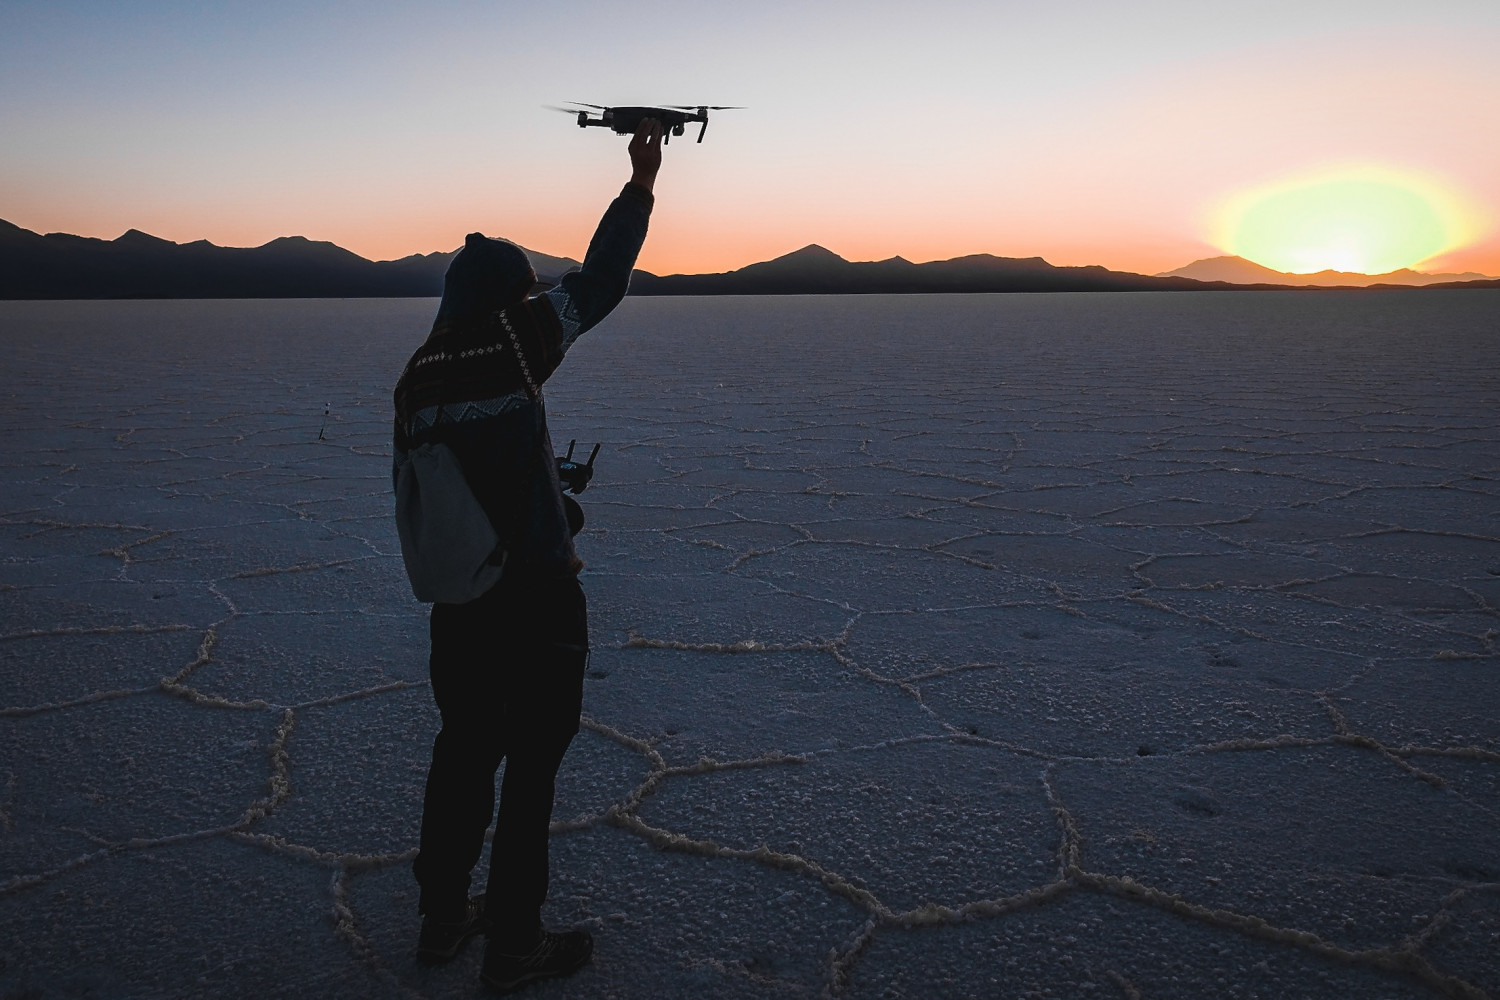
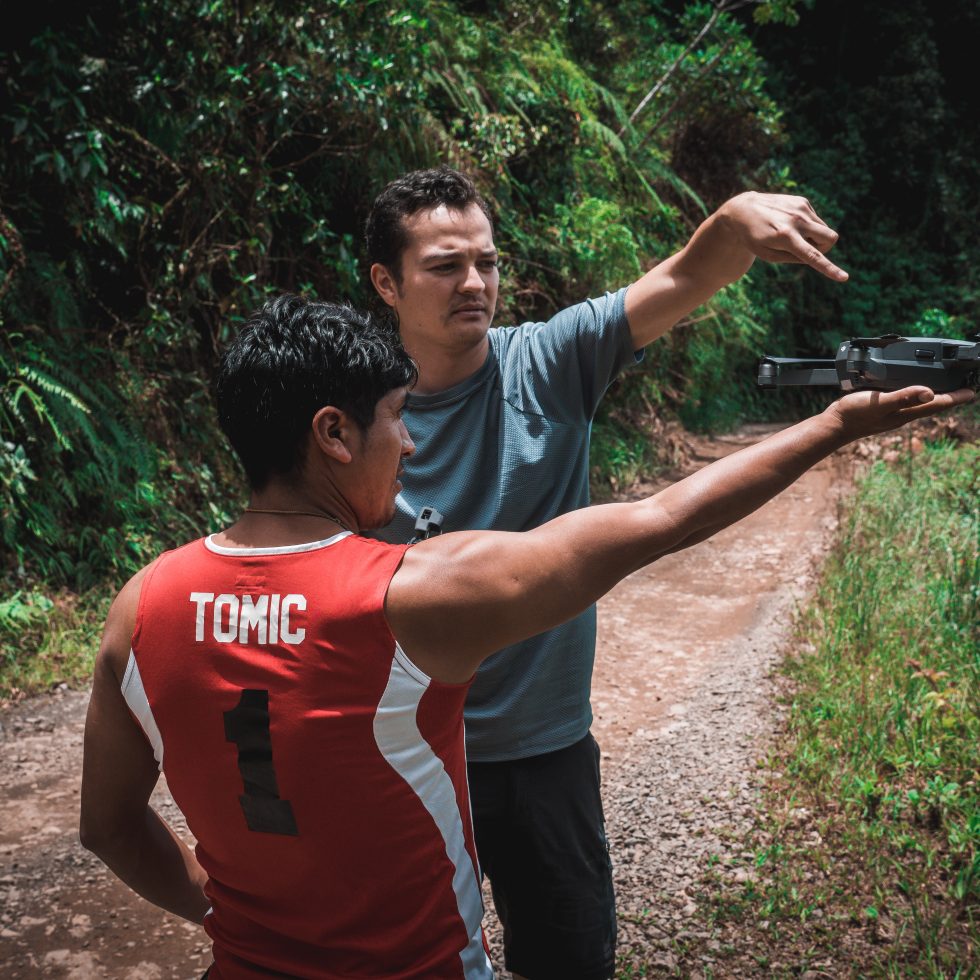
I love using the Aputure Amaran light in combination with the fixate gel pads. They saved me in dark tight spaces a couple of times. Also don’t forget a portable charger for your phone. You can also use it to charge the gopro with timelapsing, charge the aputure light and the remote control of the DJI Mavic.
Check out my Kit below to see more light weight travel gear. By buying through one of these links, you can support me financially without paying more for the product.
Panasonic GH5 – http://amzn.to/2sniZYW
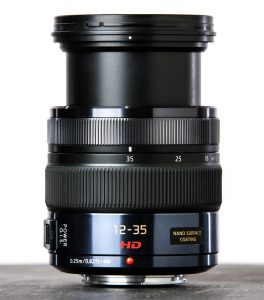
Panasonic 12-35mm f2.8 – http://amzn.to/2rzYwls
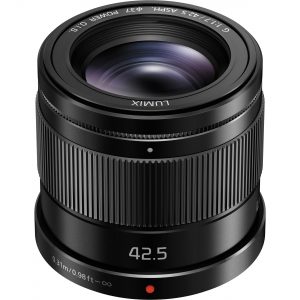
Panasonic 42,5mm f1.7 – http://amzn.to/2qOX62F
Olympus 25mm f1.8 – http://amzn.to/2rAbr77
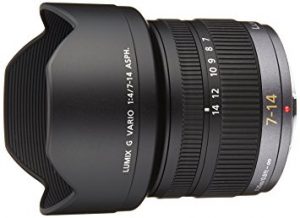
Panasonic 7-14mm f4.0 – http://amzn.to/2smKqSD
DJI Mavic Pro – http://amzn.to/2sncXHy
DJI Mavic ND Filter Set – http://amzn.to/2rkbmDX
GoPro Hero 4 black – http://amzn.to/2rA9wza
Glidecam HD-2000 – http://amzn.to/2sn2ThN
Sirui Travel Tripod – http://amzn.to/2sn3WOL
Joby Gorilla Pod – http://amzn.to/2rAbwaF
Dakine Camera Backpack – http://amzn.to/2smGrFv
SD Cards – http://amzn.to/2qOKcSg
Aputure Amaran – http://amzn.to/2rtsOnS
Fixate Gel Pads – http://amzn.to/2rkt6PB
Tiffen ND Filter – http://amzn.to/2snebm8
Leatherman Wingman – http://amzn.to/2rA1xCi
La Cie Harddrive – http://amzn.to/2rtd5VQ
SD Card Case – http://amzn.to/2rA13wd
https://kit.com/eypeekaamino/lightweight-travel-filming-kit
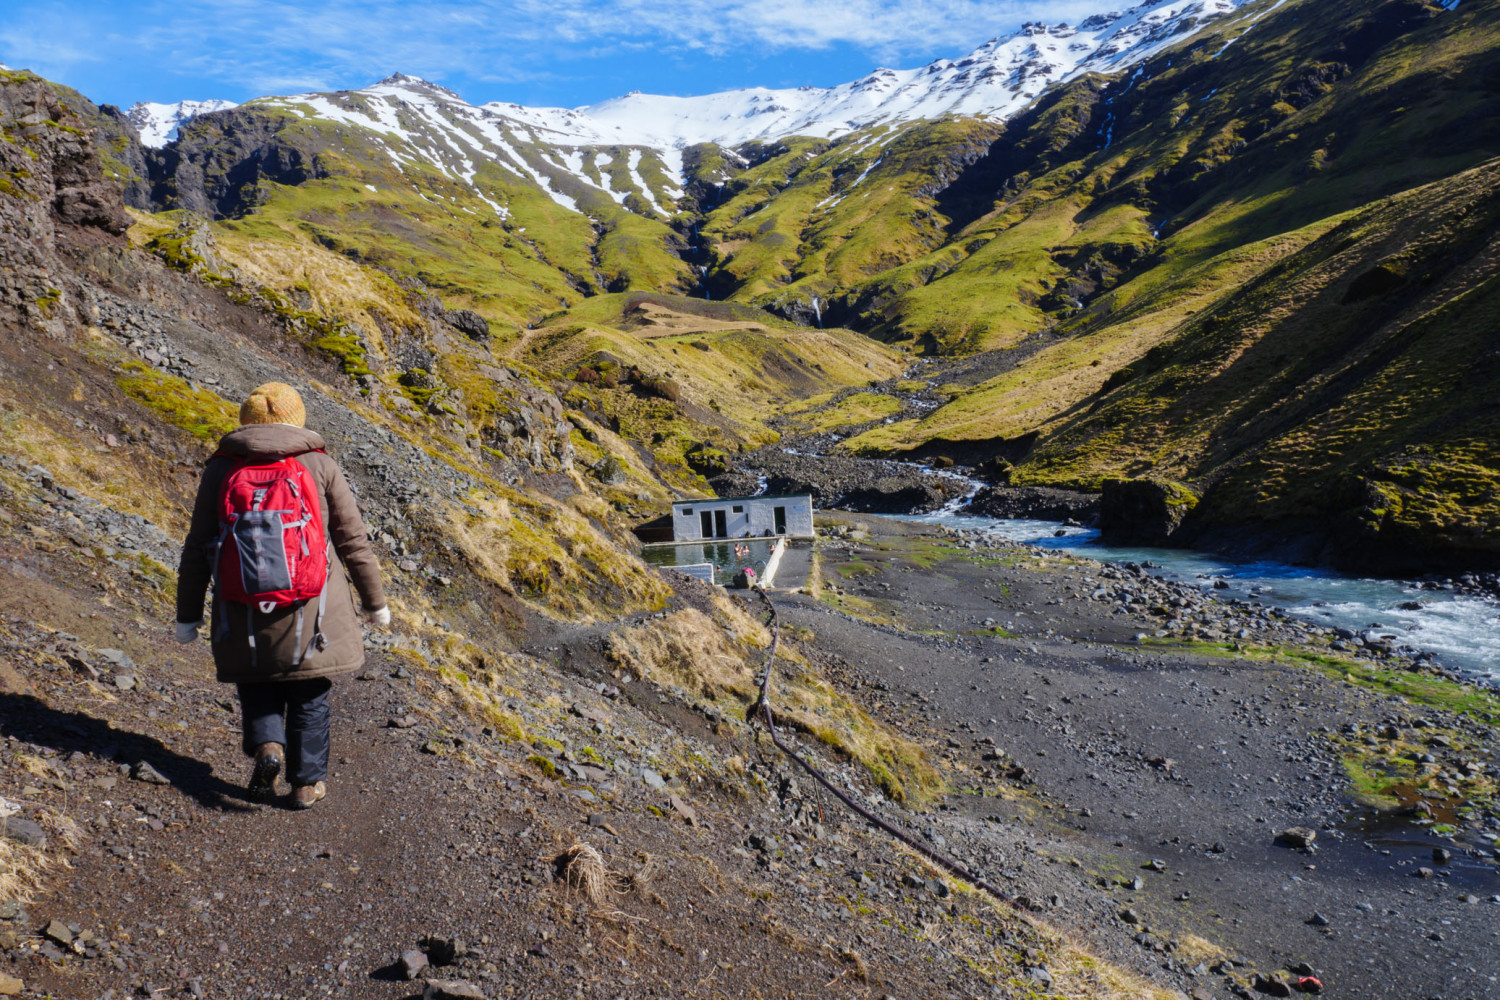
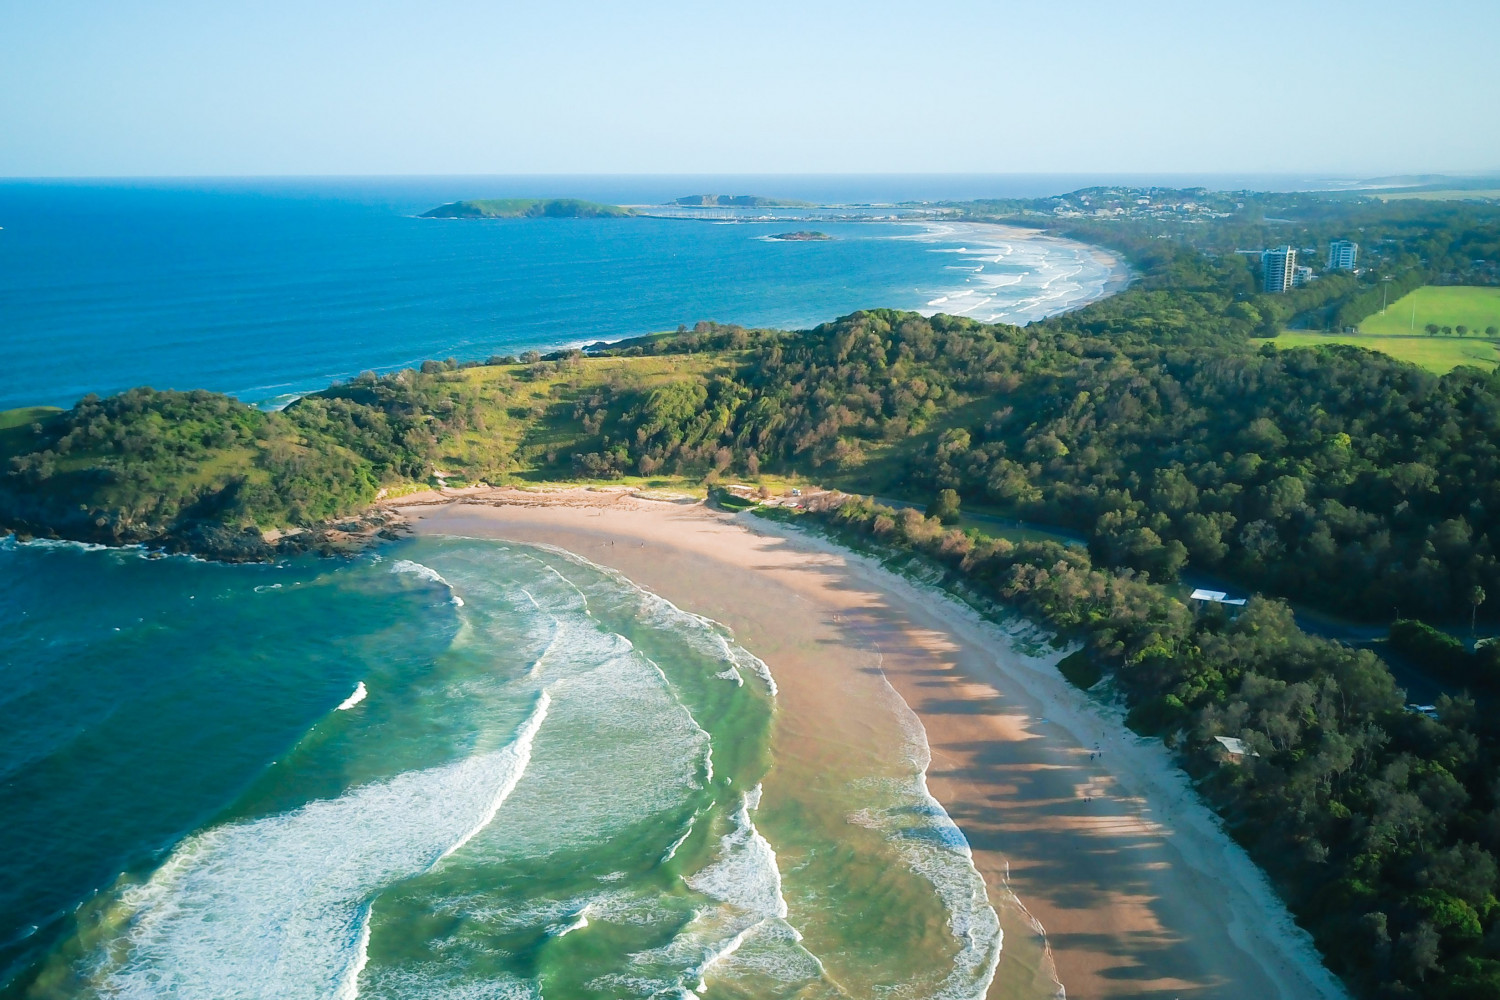
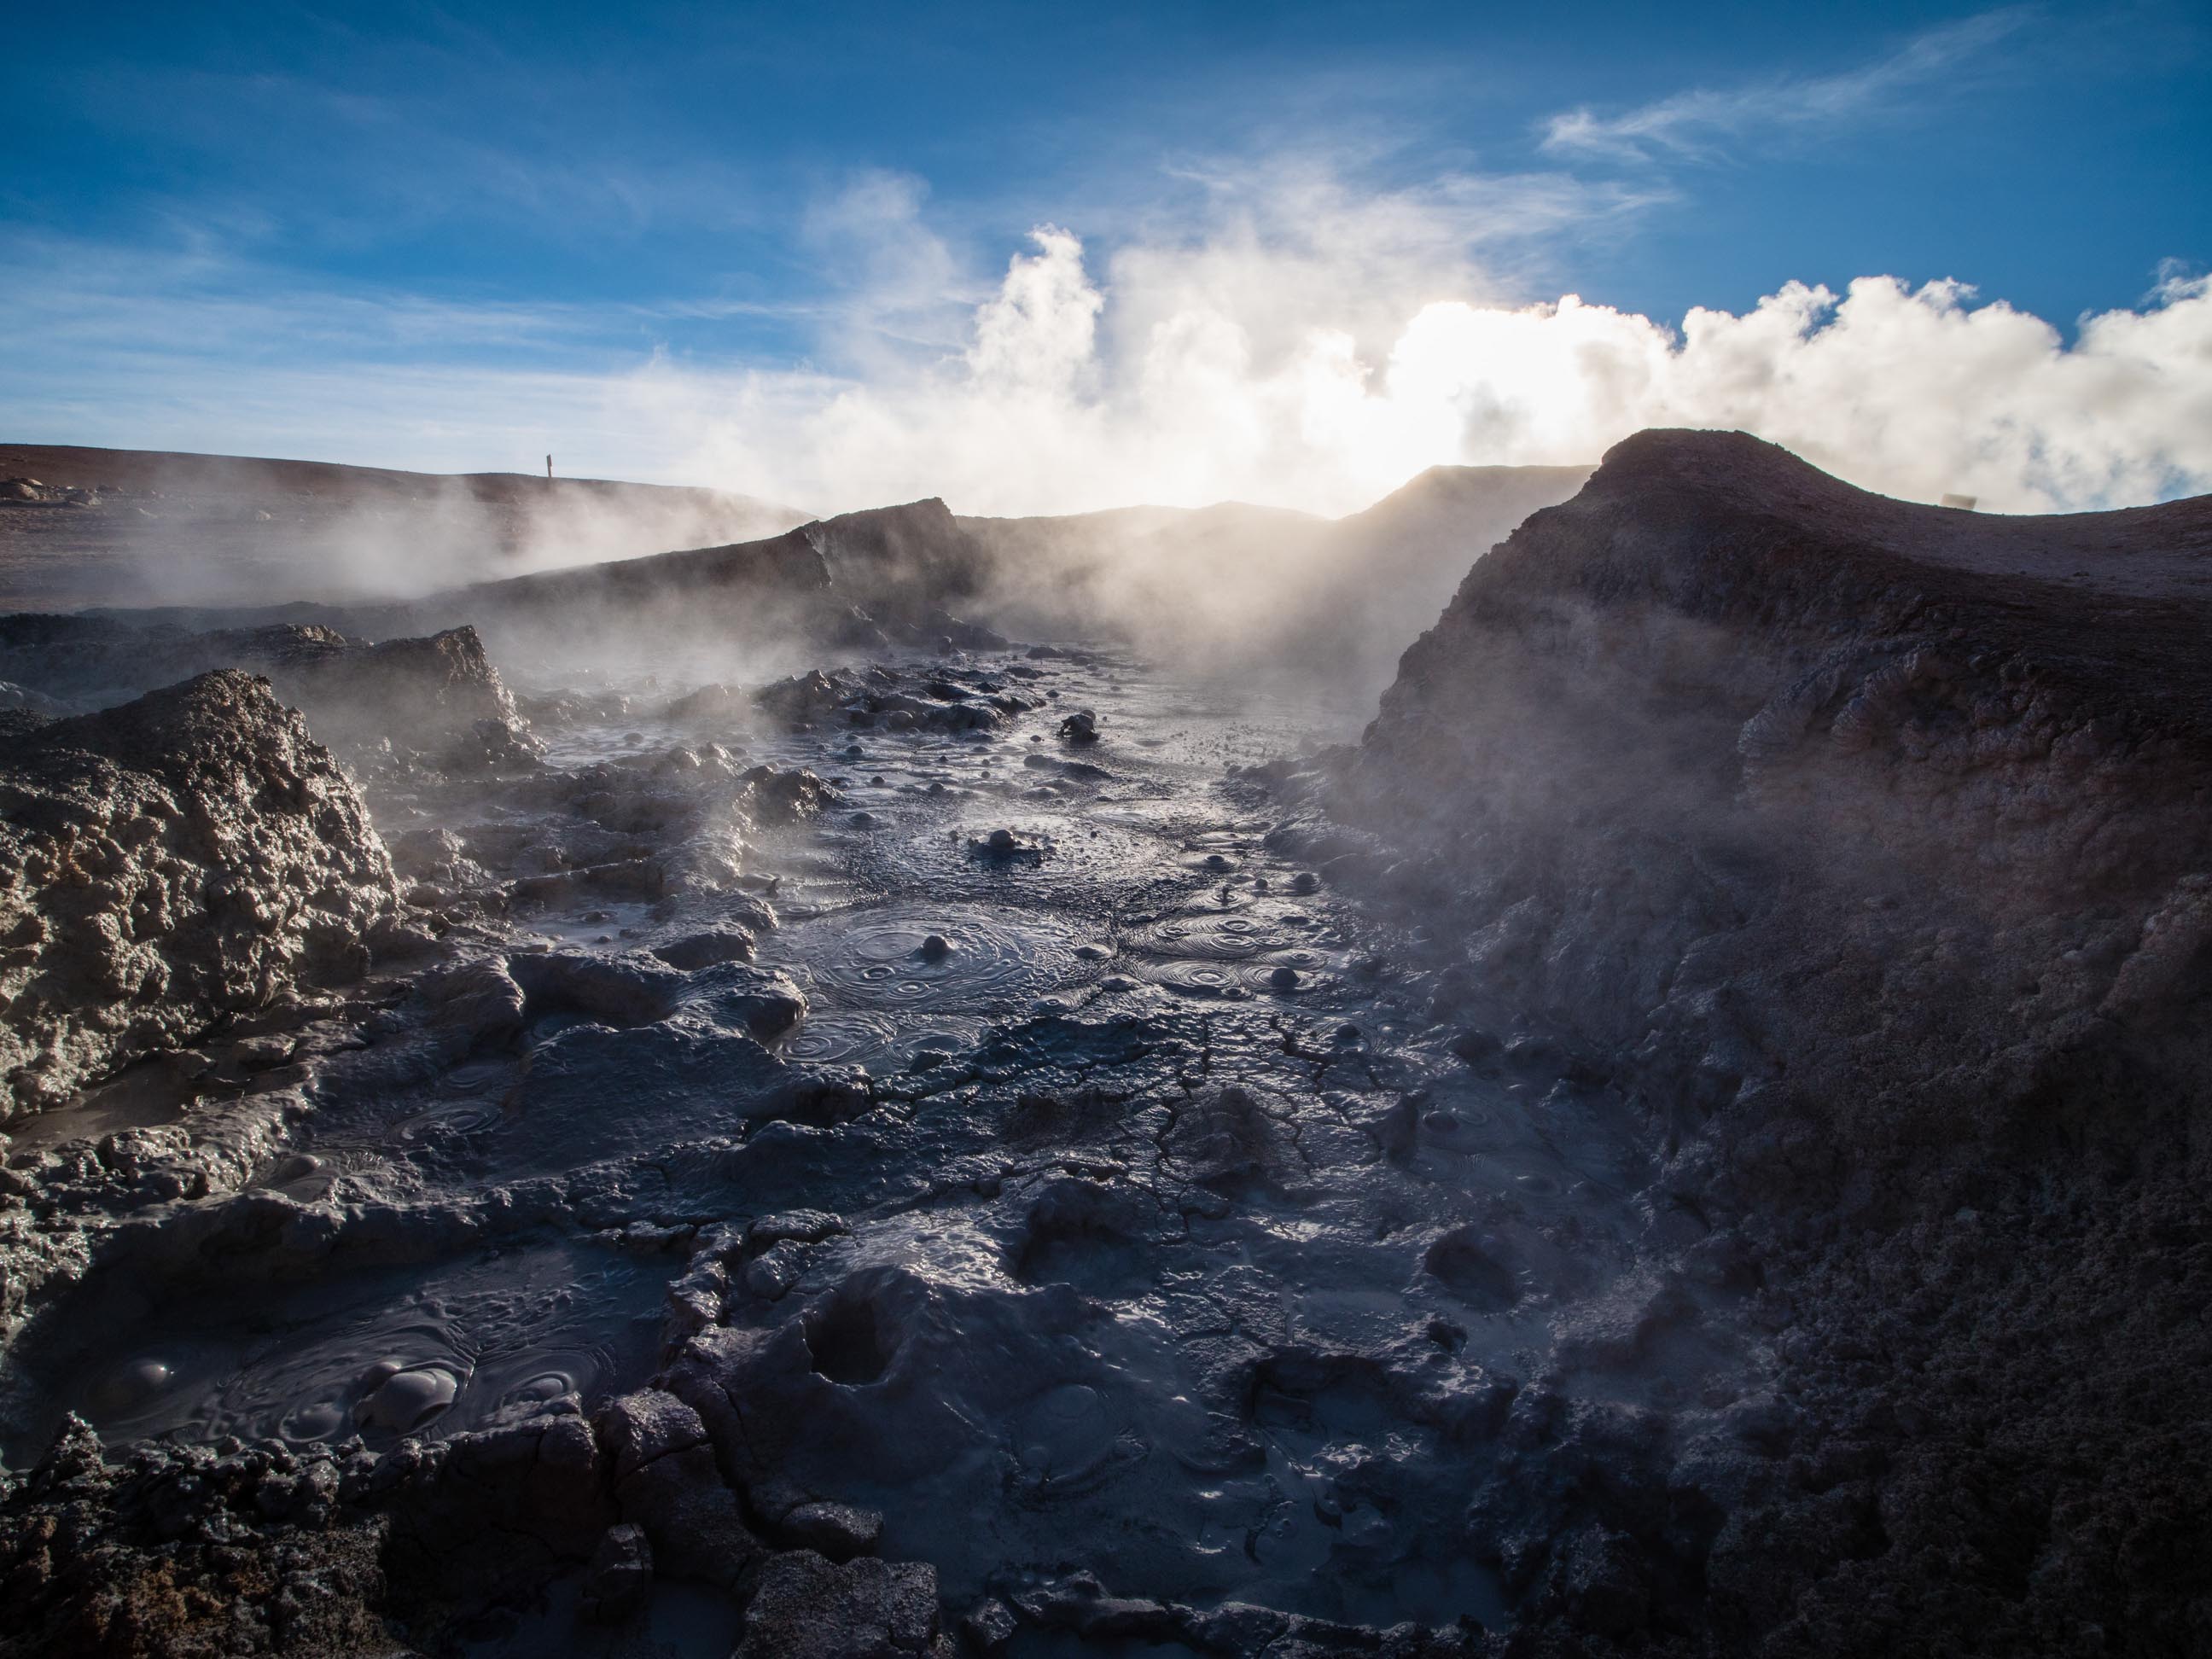
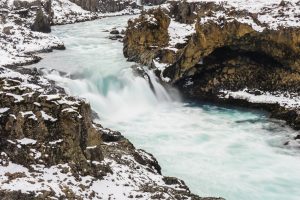
If you want to do a road trip where you can see a lot of nature in a short period of time, then Iceland is the perfect place to go. Though being quite cold even in the summer, you have a very large chance to be overwhelmed by the countries nature. Alternatively, you can also have a great time in the big cities like Reykjavik and Vik.
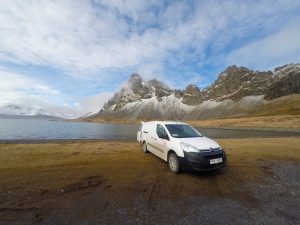
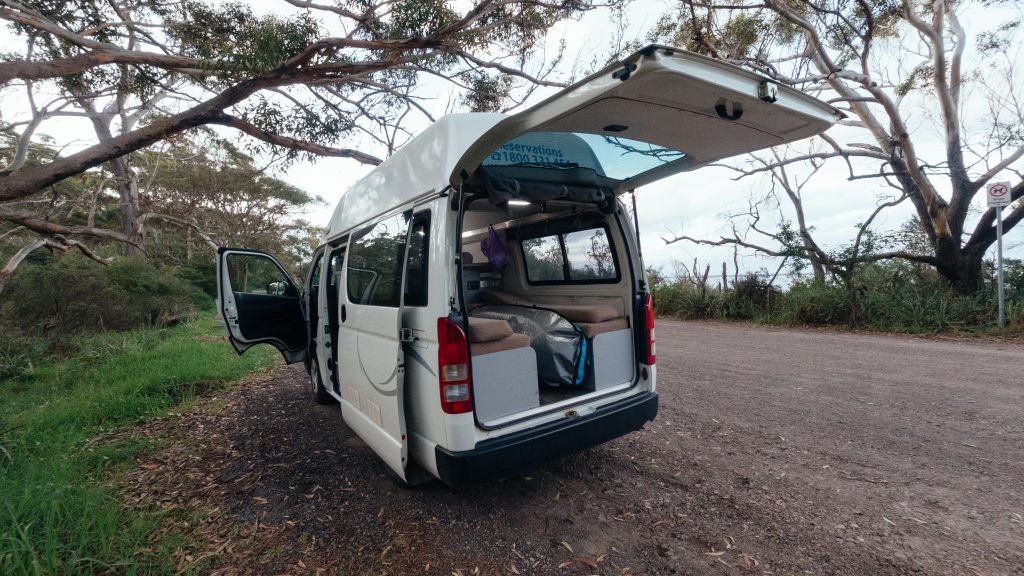
As Iceland is best to explore by car, I suggest you rent a car. If you are planning to stay longer and explore regions outside the ring road, I suggest you get a 4×4 wheel car so you go off road. If you are just planning to see the “touristy” stuff, it’s enough to get a 2 -wheel drive and stay on paved roads. Campers are very common in Iceland because a lot of visitors prefer to stay free and not be dependent on searching for accommodations.
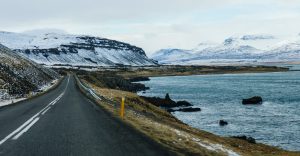
I strongly suggest driving counterclockwise, because most of the attractions are in the south. In my experience, the east and north part of Iceland has the best landscapes with tons of mountains and snow and an awesome scenery, but we ended up not stoping as much.
So here is the map that I got from amazon. It’s rip and water proof. Price was around 10€. I was super happy and we used it everyday. I marked all the places that I didn’t want to miss and you with this you do not have to rely on google maps on your super small phone screen. Sometimes analog is better.
I strongly suggest you get a SIM card with enough data, so you can navigate yourself through the country. It’s important to keep track of the roads, weather and camping sites near you at all times. and not to mention instagram 😛 you can buy “Simmin” cards at every gas station. They come with 1 GB Internet Data. You can upgrade your data everytime via browser. I booked an additional 4GB on my first day and payed a total of 45€ for Sim card and 5GB of internet data. This saved us a lot of times on our entire trip.
http://www.road.is – whole Iceland is equiped with webcams and they all monitor the roads. In Winter, a lot of the roads are closed, snowy or too slippery to drive. It’s always good to know which roads to take and not to take beforehand.
http://www.visiticeland.com – here you can filter out all the camping sites in a specific region.
http://en.vedur.is/weather/forecasts/aurora/ – here you must check for aurora activity regularly. you need a cloud-free sky and high aurora activity and always look north 🙂
http://en.vedur.is/weather/forecasts/elements – This is very important when doing a roadtrip! If the wind is too strong (14 and up), don’t drive! We encountered a lot of accidents especially big camper vans beside the road that were just blown away by surprise.
If you get stuck in the snow: 1777 or 1778
emergency (police, fire, ambulance): 112
more numbers

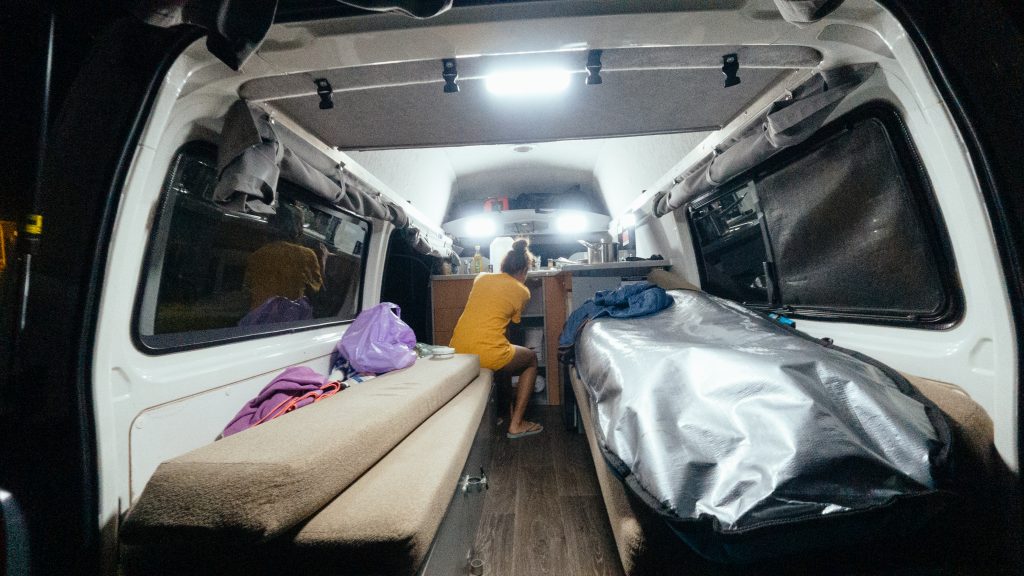
ring road: We started going south because most of the attractions are there. Unfortunately we couldn’t go to the remote areas like Thorsmörk because the roads were closed and we only had a 2-wheel-drive camper. I bought an actual physical map from amazon for 10€ (rip and water proof) and marked all the spots I wanted to visit. It was THE BEST! i hate always looking at the phone. it’s too small and sometimes doesnt work.
very touristy! all the famous attractions are on this route.
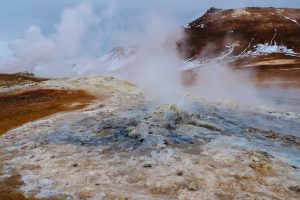
Don’t go to Blue Lagoon unless you want to experience something very full, touristy and expensive. All locals discouraged us from going there. Rather go to the Secret Lagoon, Myvatn Hot Springs or my favourite Laugarvatn Fontana Hot Springs and Seljavallalaug Pool where you are surrounded by mountains.
A lot of young passionate chefs reside in Reykjavik. They are known for competing internationally and have incredibly pure culinary skills. We got recommendations from a chef who worked there. Tips are included in the bill, so no need to tip.
Sjavargrillid – is located just down the road that leads to the big church. This was by far the best high class food I’ve tasted. Though pricey, I could tell the chefs are very talented, regarding taste, consistency, high quality ingredients and even colors and looks.
Apotek Restaurant – also in downtown Reykjavik. The food is high class, but a bit more exposed to tourists. We were here on our last day and tried some fresh oysters, local plaice fish and grilled salmon.
Here are more Tipps from the chef that we haven’t visited yet: Matur og Drykkur, Kaffivagninn, Fiskifelagid, Haust Restaurant, Baejarins Bestu (Hotdog Stand)
To stay light and compact, I only bought the essentials of the essentials.
Panasonic GH5 – http://amzn.to/2sniZYW
Panasonic 12-35mm f2.8 – http://amzn.to/2rzYwls
Panasonic 42,5mm f1.7 – http://amzn.to/2qOX62F
Olympus 25mm f1.8 – http://amzn.to/2rAbr77
Panasonic 7-14mm f4.0 – http://amzn.to/2smKqSD
DJI Mavic Pro – http://amzn.to/2sncXHy
DJI Mavic ND Filter Set – http://amzn.to/2rkbmDX
GoPro Hero 4 black – http://amzn.to/2rA9wza
Glidecam HD-2000 – http://amzn.to/2sn2ThN
Sirui Travel Tripod – http://amzn.to/2sn3WOL
Joby Gorilla Pod – http://amzn.to/2rAbwaF
Dakine Camera Backpack – http://amzn.to/2smGrFv
SD Cards – http://amzn.to/2qOKcSg
Aputure Amaran – http://amzn.to/2rtsOnS
Fixate Gel Pads – http://amzn.to/2rkt6PB
Tiffen ND Filter – http://amzn.to/2snebm8
Leatherman Wingman – http://amzn.to/2rA1xCi
La Cie Harddrive – http://amzn.to/2rtd5VQ
SD Card Case – http://amzn.to/2rA13wd
[FAG id=324]